Tag Archives: testors

Where is Blackbird NASA 831? And the problems with the old Testors kit.

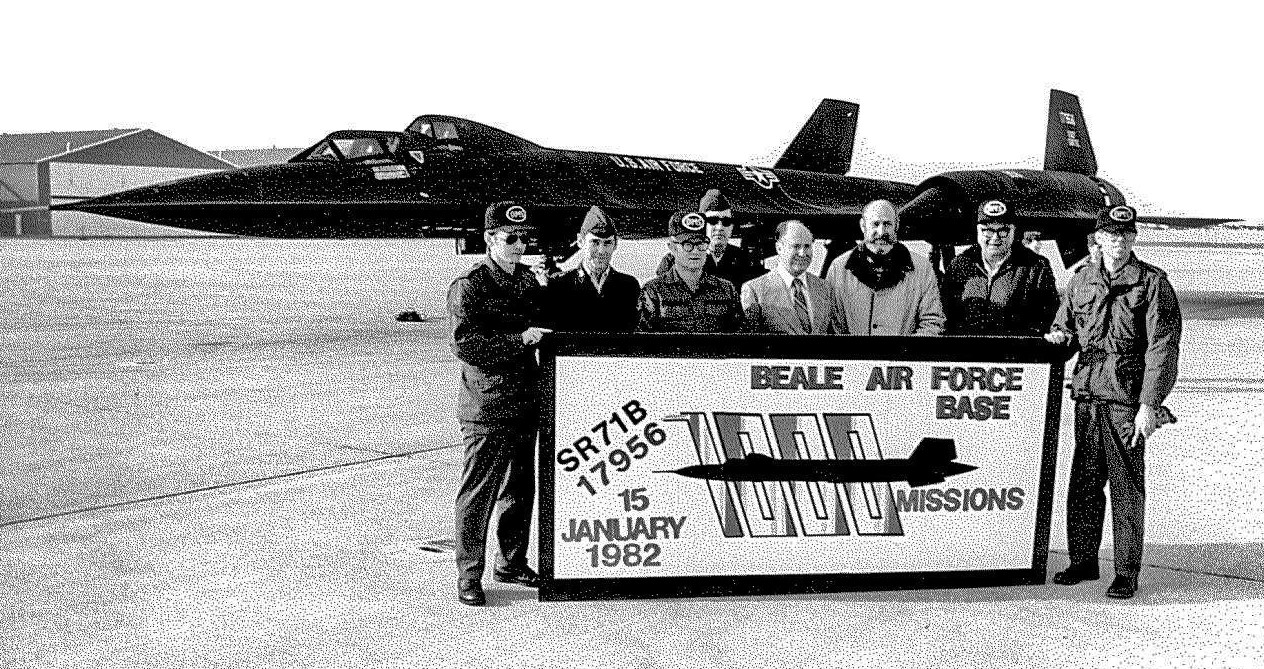
The SR-71B that would become NASA 831. U.S. Air Force photo by Airman Luis Ruiz-Vazquez, 15JAN1982.

SR-71B #61-7956, on the day of its delivery to NASA, 24JUL1991.

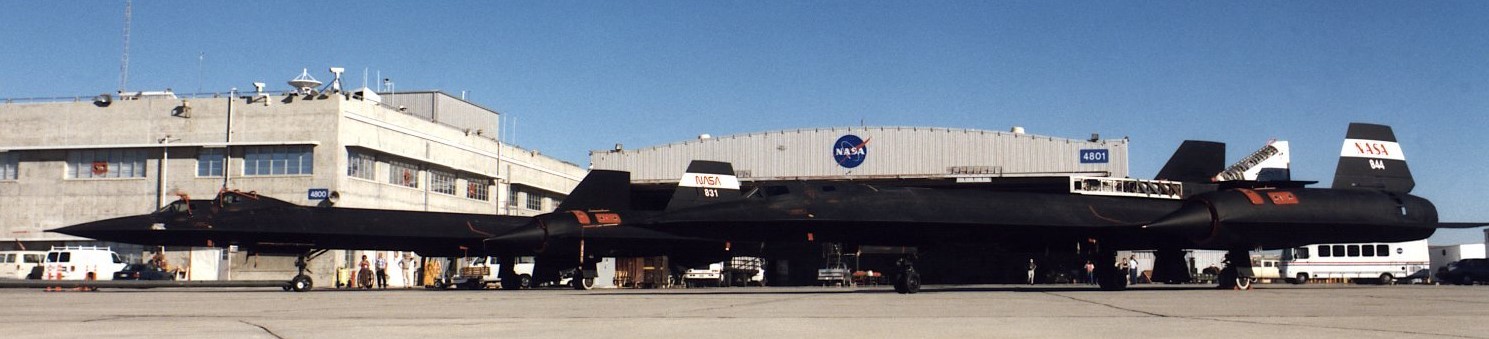
NASA photo of SR-71B #831, July 1991.
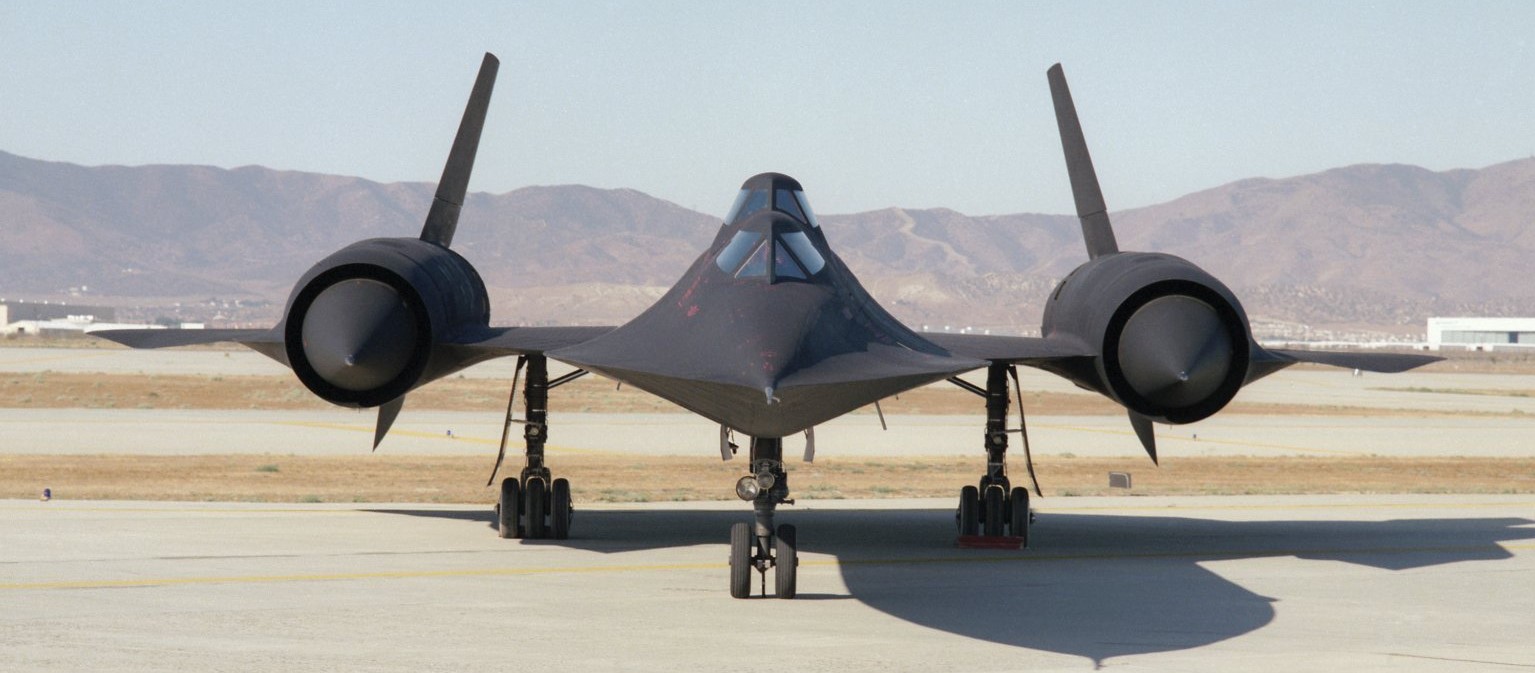
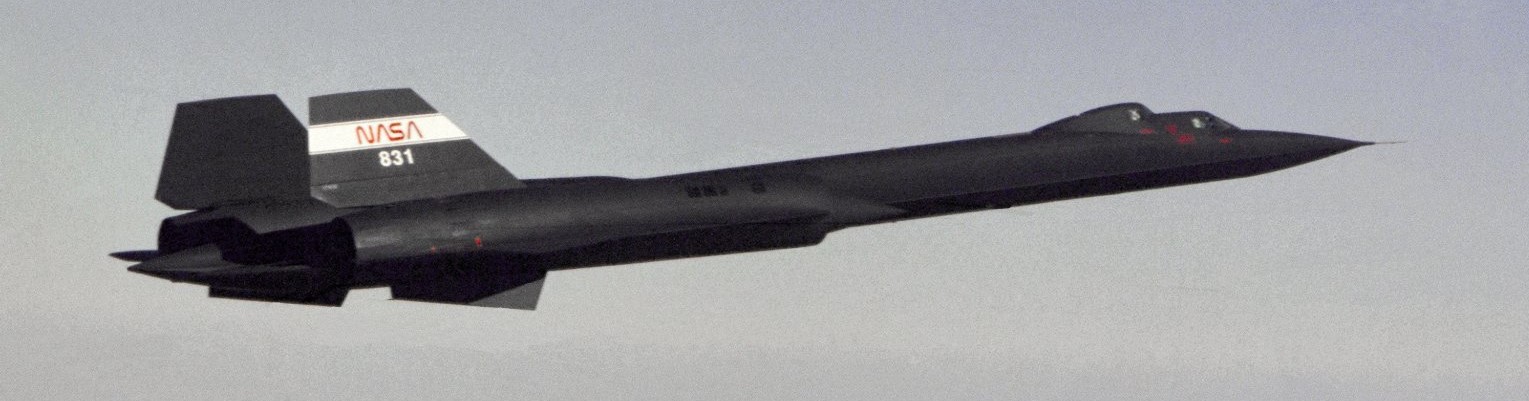
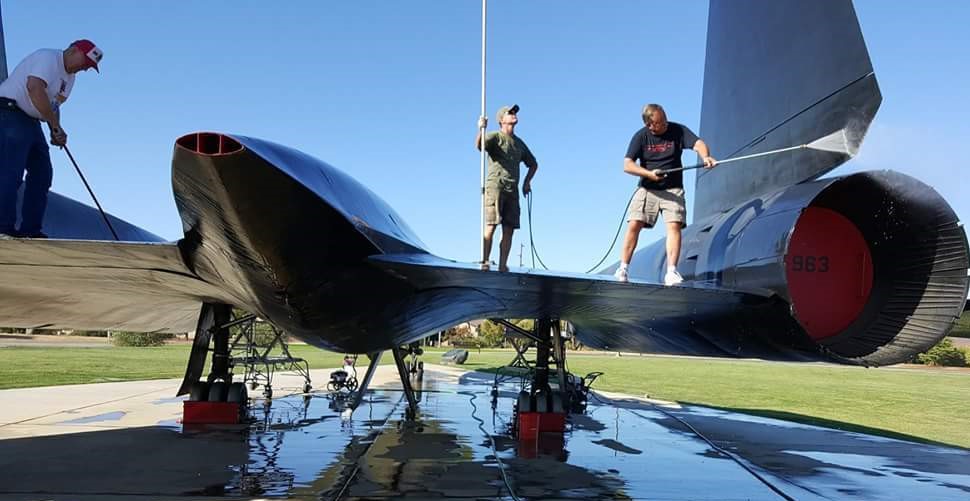
The ‘B’ version of the Blackbird has ventral fins on the nacelles, like the YF-12A.

Silent take-off video from 1991:

In July 1991, NASA began using the last of two SR-71B trainers (the other SR-71B was lost in a crash in 1968), #61-7956, also known as NASA 831.

Silent refueling video from 1991:

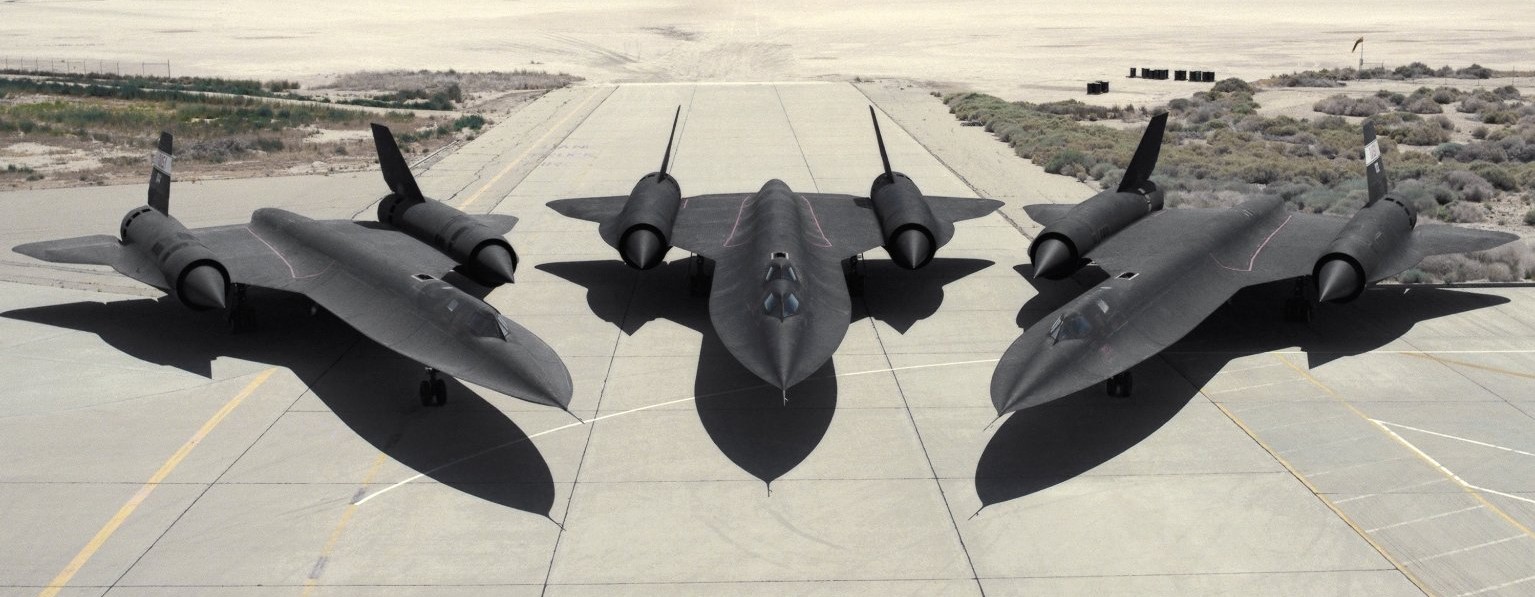
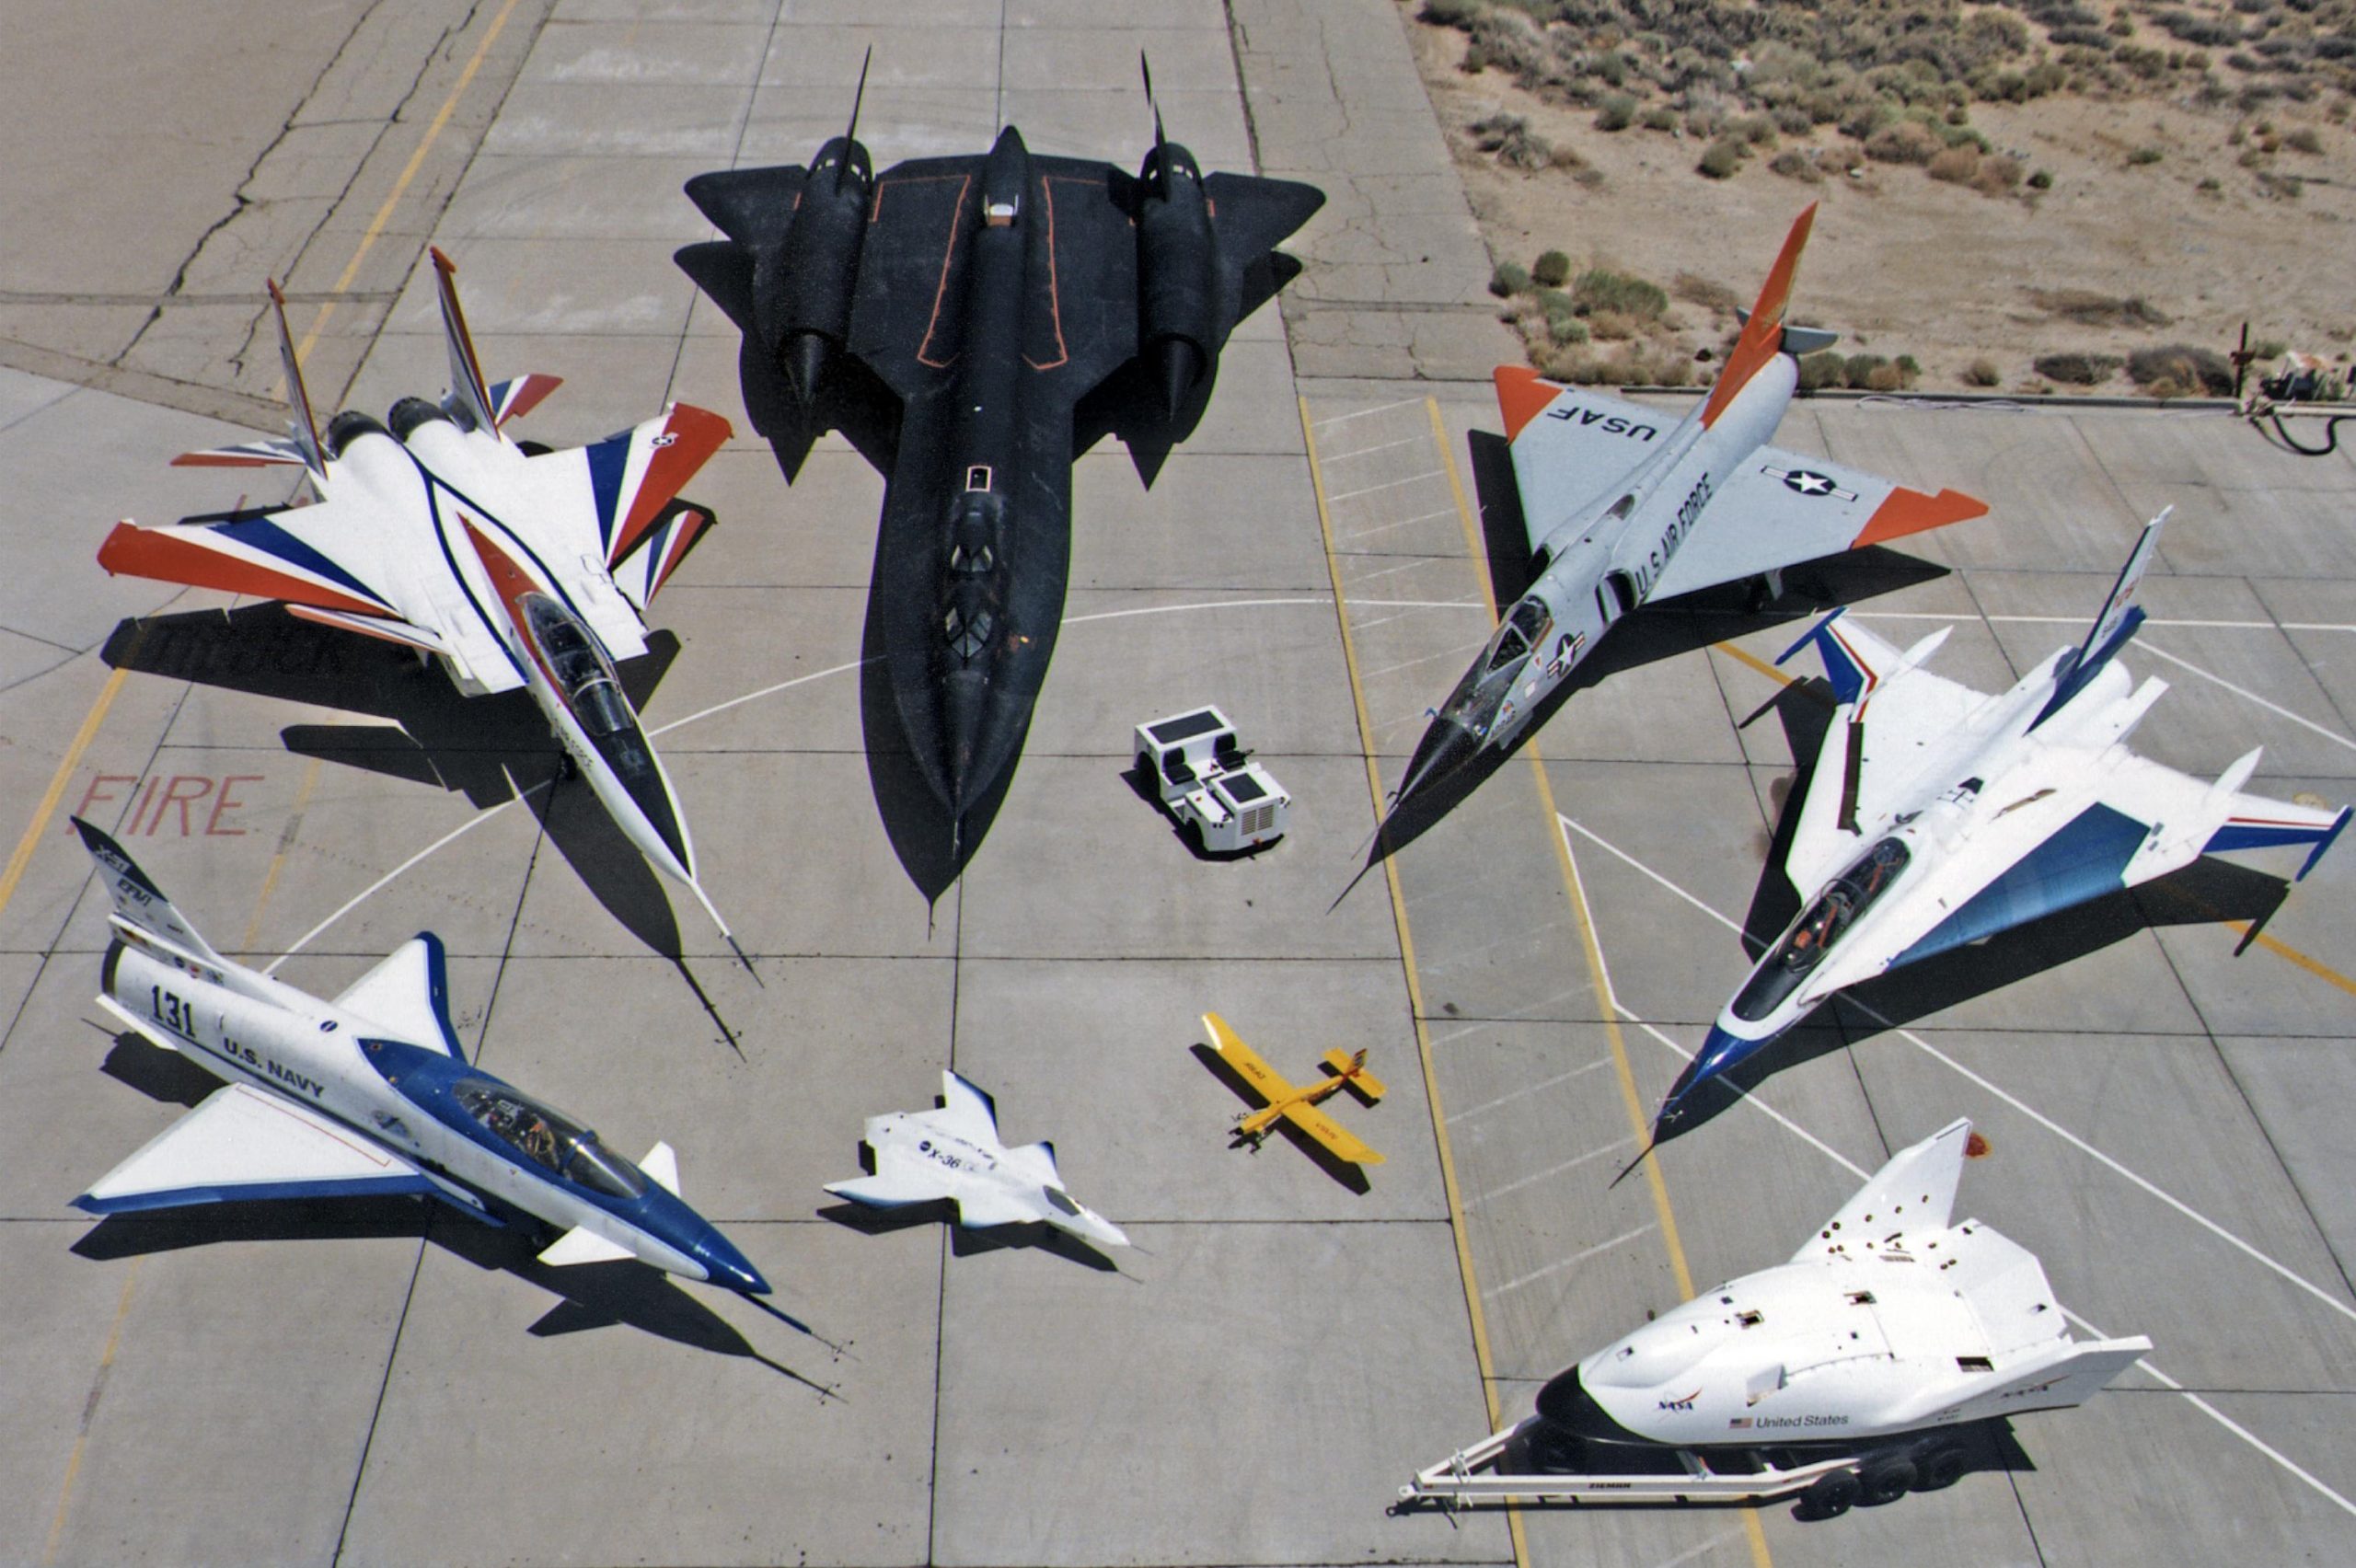
NASA photo from 1992, showing-off the three SR-71s they got ‘on loan’ from the U.S. Air Force. NASA 831 is in the middle.

Silent take-off video from 1992:

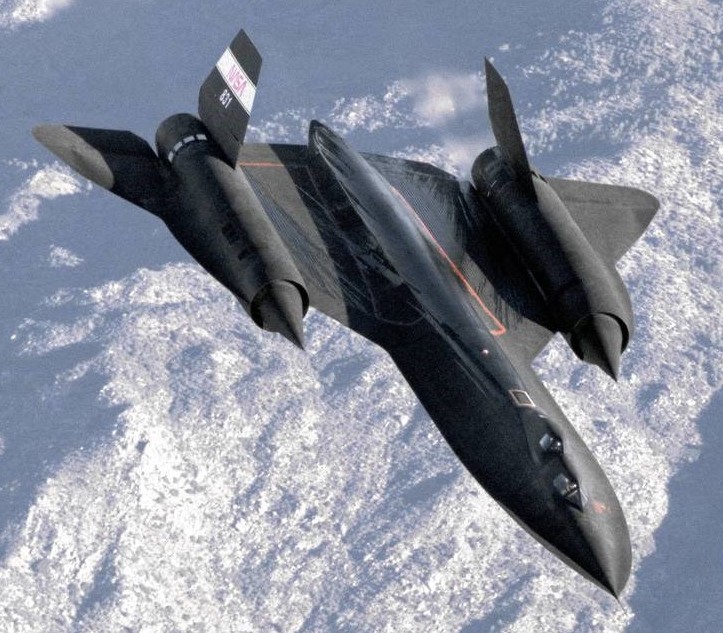
SR-71B ‘831’, photo via NASA, 1994.

NASA photo of 831, March 1996.

831 was used for crew training and various research programs on Dryden Flight Research Center (now called Armstrong Flight Research Center, on Edwards Air Force Base), California, until October 1997.

This NASA photo was made in July 1997, just a few months before 831 was retired.

NASA photo from August 1997, in the foreground is SR-71A carrying the Linear Aerospike experiment, behind it is retiring SR-71B 831.

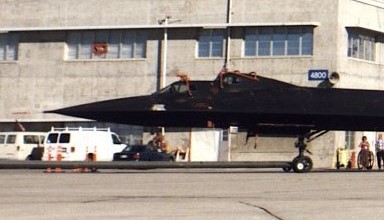
Same photo but I zoomed in to show the apparatus on the canopies of 831.

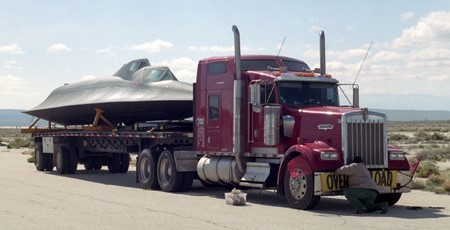
At the end of 2002, pieces and parts of NASA 831 were loaded onto tractor-trailers at Edwards AFB (Dryden Research Center), California, for the trip to Michigan. Photo via NASA.

In March 2003, NASA 831 went on display at the Kalamazoo Aviation History Museum in Kalamazoo, Michigan.  Some very detailed walk-around photos of its arrival, in pieces, can be seen at SR-71.org, as well as a history of the reconstruction at the museum.

In 2015 (and updated in 2017), for some reason NASA claims 831 went on display at the Pima Air and Space Museum in Tucson, Arizona.  However, a check of the Pima Air and Space website reveals it is an SR-71A, not the B version.

To confuse things even more, some aviation blogs claim the Evergreen Aviation & Space Museum in McMinnville, Oregon, has NASA 831!  The museum’s own SR-71 FAQ section states they’ve had the SR-71 since 2002! They post three photos; two are NASA photos, with one being of 831, and the other being an SR-71A being configured for the Linear Aerospike experiment.  The third photo is of the museum’s SR-71 and it is clearly an SR-71A, not the B or even 831.

At this point, the Kalamazoo Aviation History Museum is the only location that has photographic proof that they have NASA 831.  Not only does their website have lots of detailed photos of NASA 831, but they got lots of photos of other Blackbirds.

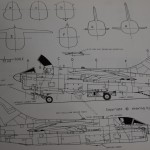
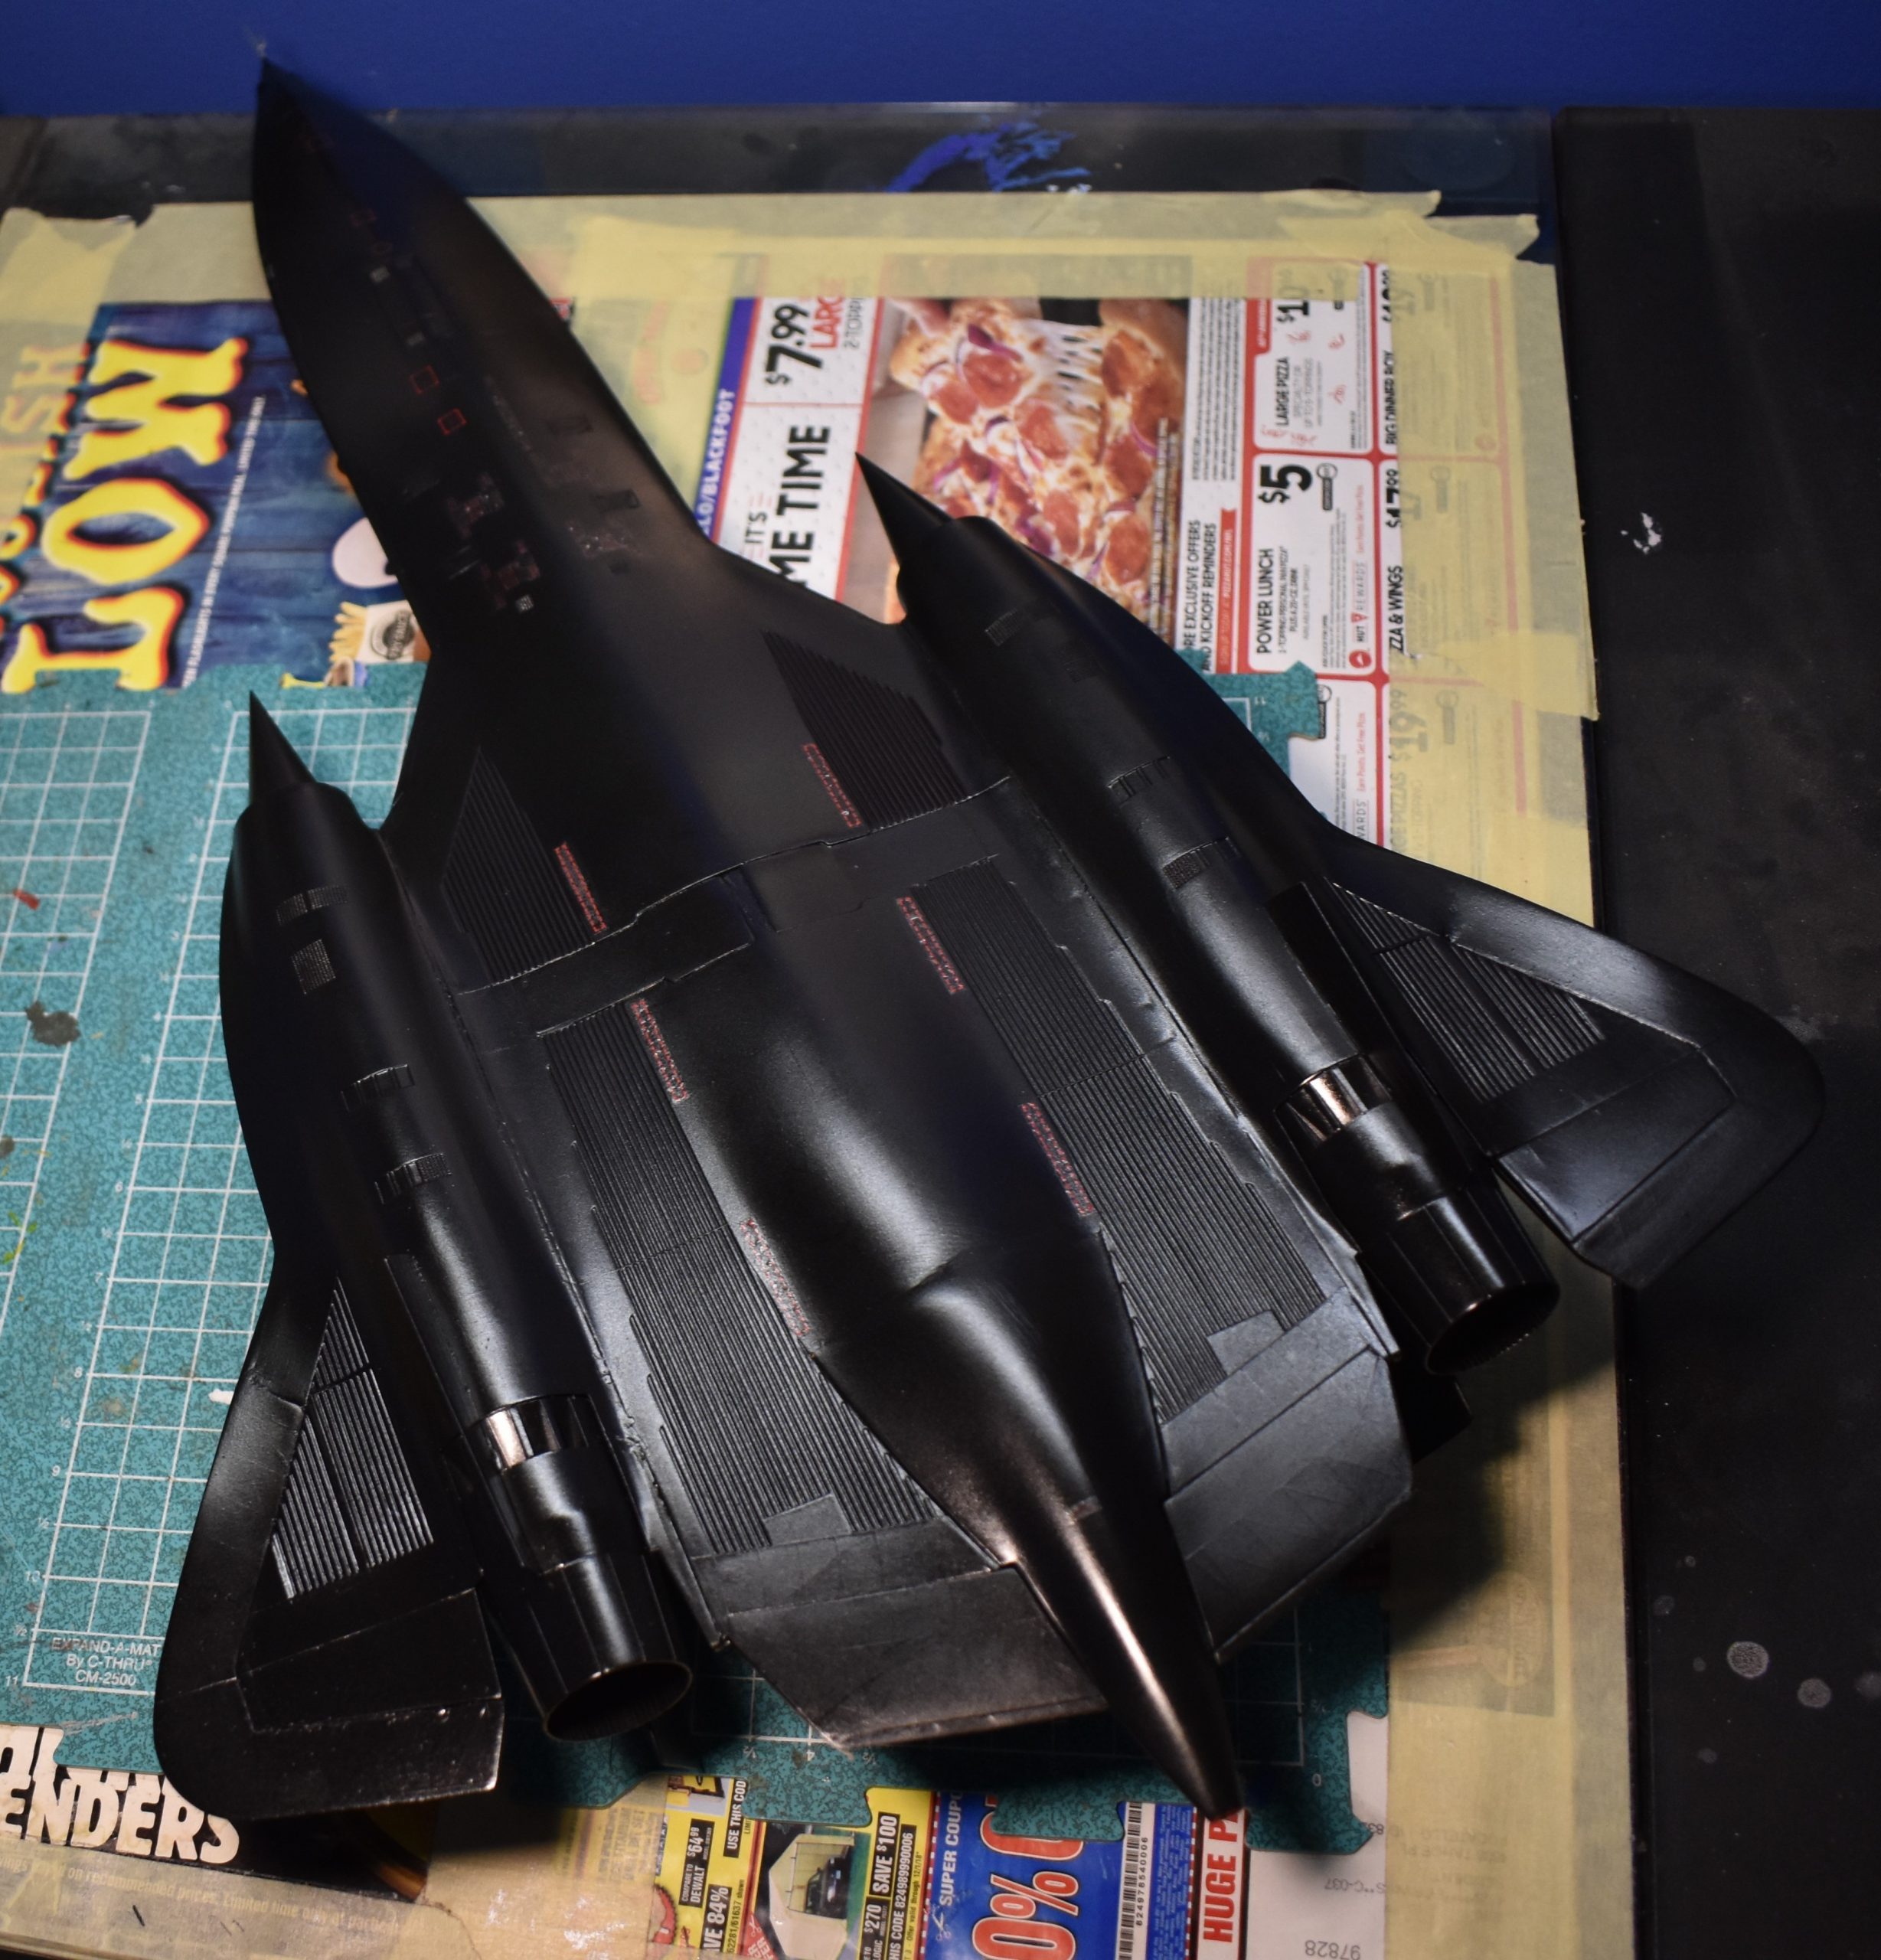
Testors SR-71 built as the ‘B’ version, NASA 831. I had to scratch build an aerial refueling door as Testors did not provide it.

After 25 years in my stash-pile, and realizing that the outrageous prices being fetched for an old Testors SR-71 might be due to Testors ceasing to exist, and the fact that the new Revell-Germany SR-71 does not include parts for the ‘B’ version, I decided it was time to build it.

NASA photo, July 1995.

The first problem I came across with the kit itself, was that Testors molded the refueling door in the open position and did not provide a door for the closed position, I wanted it closed so I had to use plastic sheet to cover the open fuel receptacle.  Perhaps Testors got confused, photos of parked SR-71s do show the refueling door open, but that is because the hydraulics have relaxed, in-flight the door is closed, except when refueling.

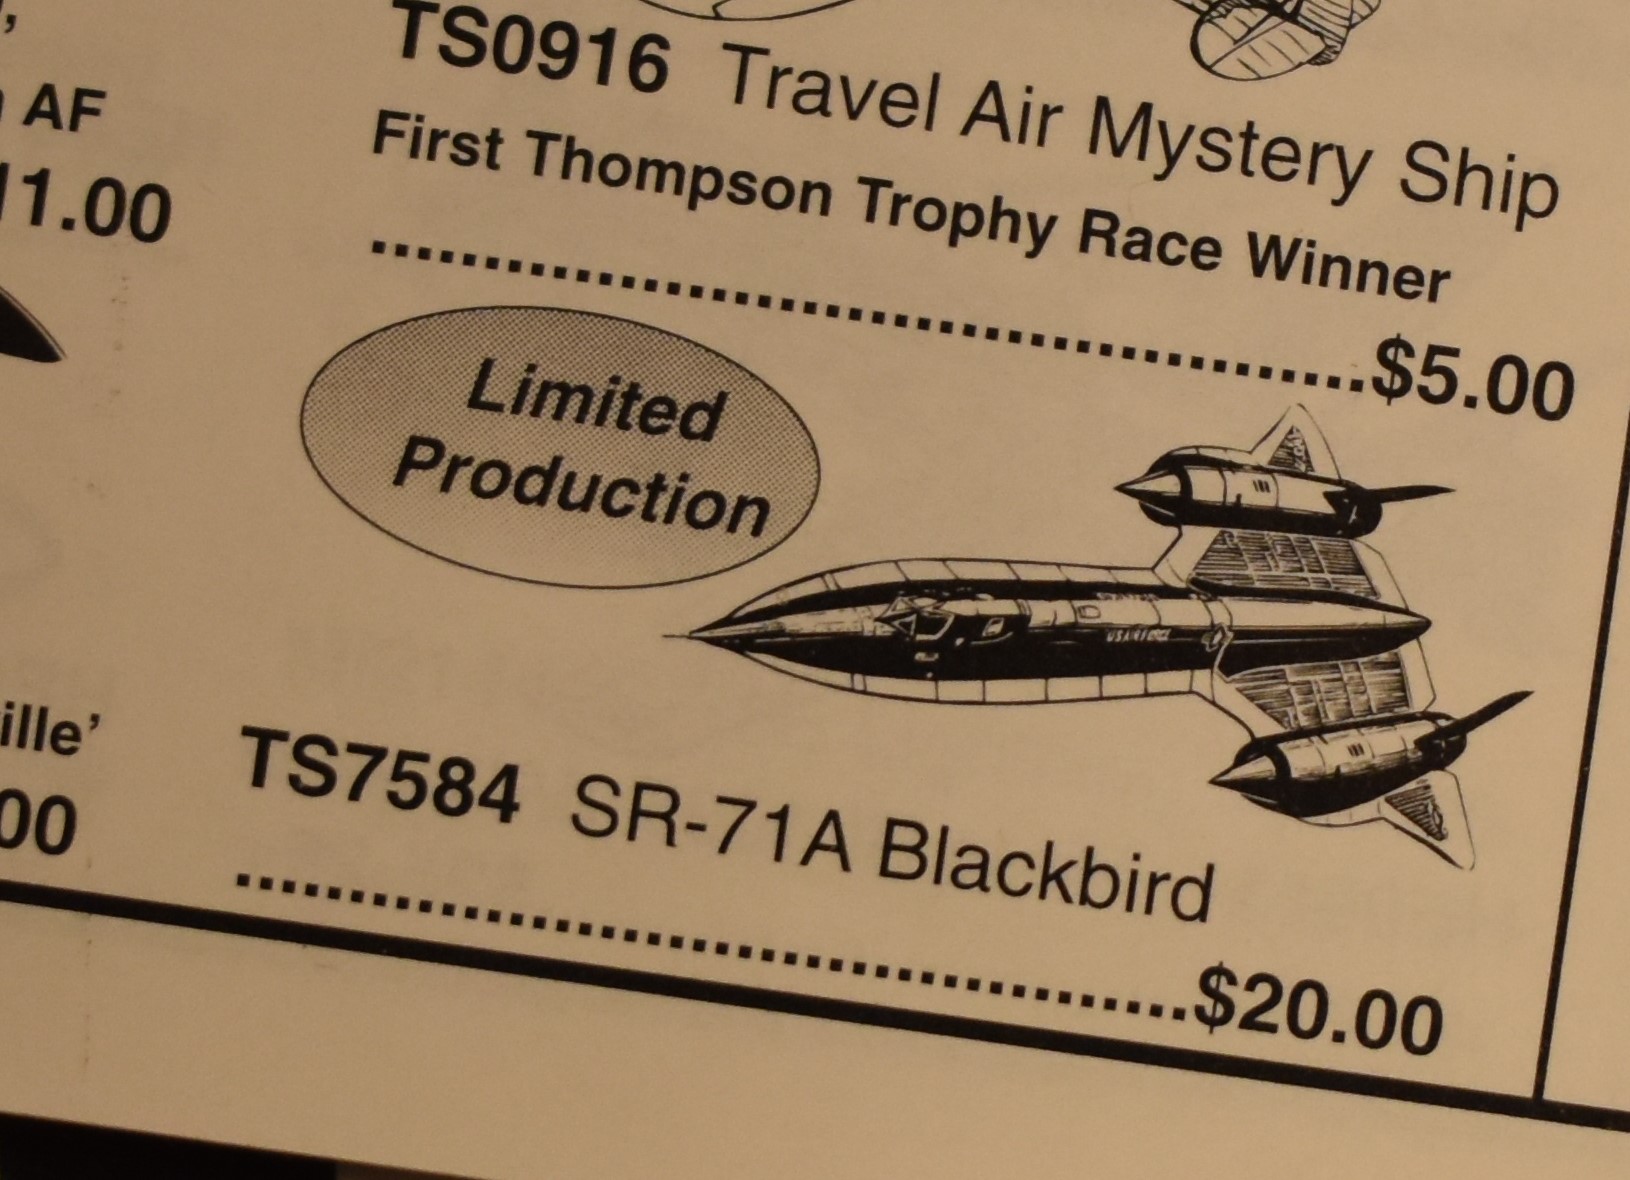
I still have a mail-order catalog showing the MSRP of $20 back in 1996-97. I realized that the kit was not promoted as being able to build the B version.

I bought the Testors kit back in 1997, when it was a whopping $20 brand new, and I got it on discount for less than $19!

Unfortunately, the box and decals didn’t survive the test of time; the outer end opening box literally began disintegrating, and the decals were cracked beyond use (I tried, even with a coat of clear they shattered in the water), I ended up getting some Caracal-Cartograf decals.

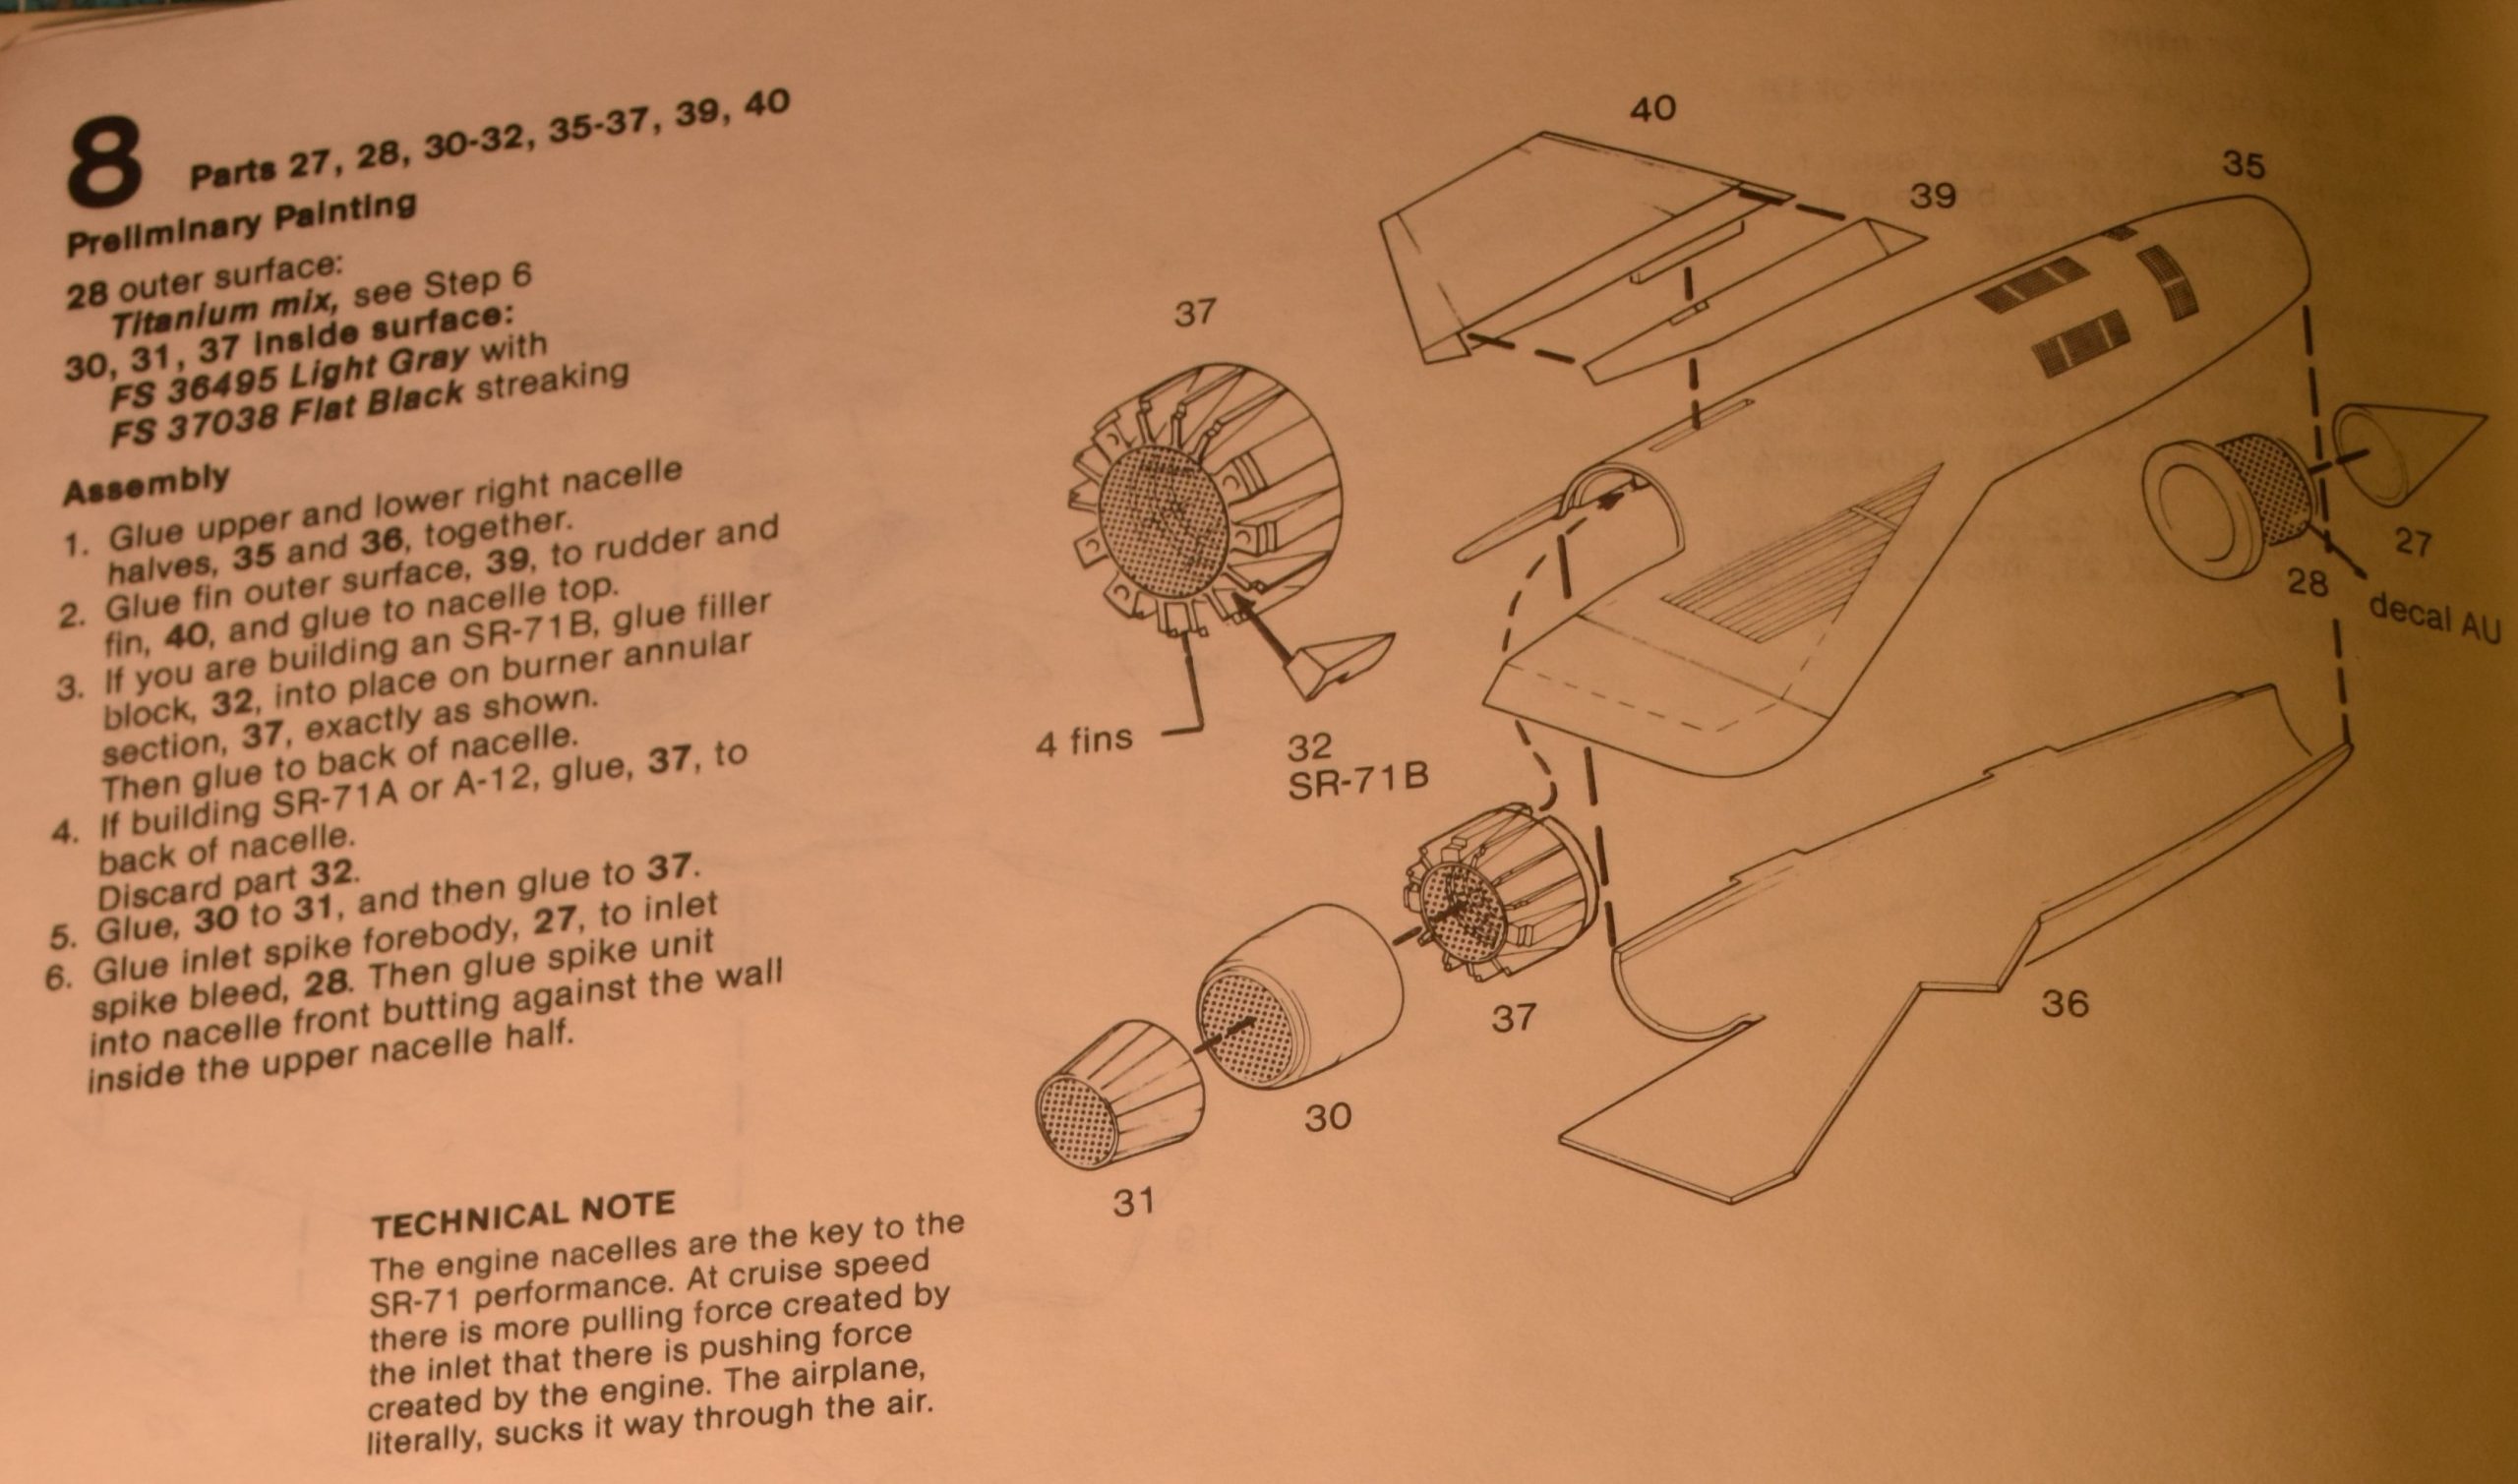
If you follow the order of assembly you will have problems.

I learned that if you follow the instructions and attach the rudders to the nacelles first, you will have problems attaching the afterburners.  Attach the afterburners before attaching the rudders.  I glued the intake spike (shock cone) behind the mounting point as I was building it to represent being in-flight.  The shock-cone retracts into the nacelle allowing the Blackbird to fly faster.

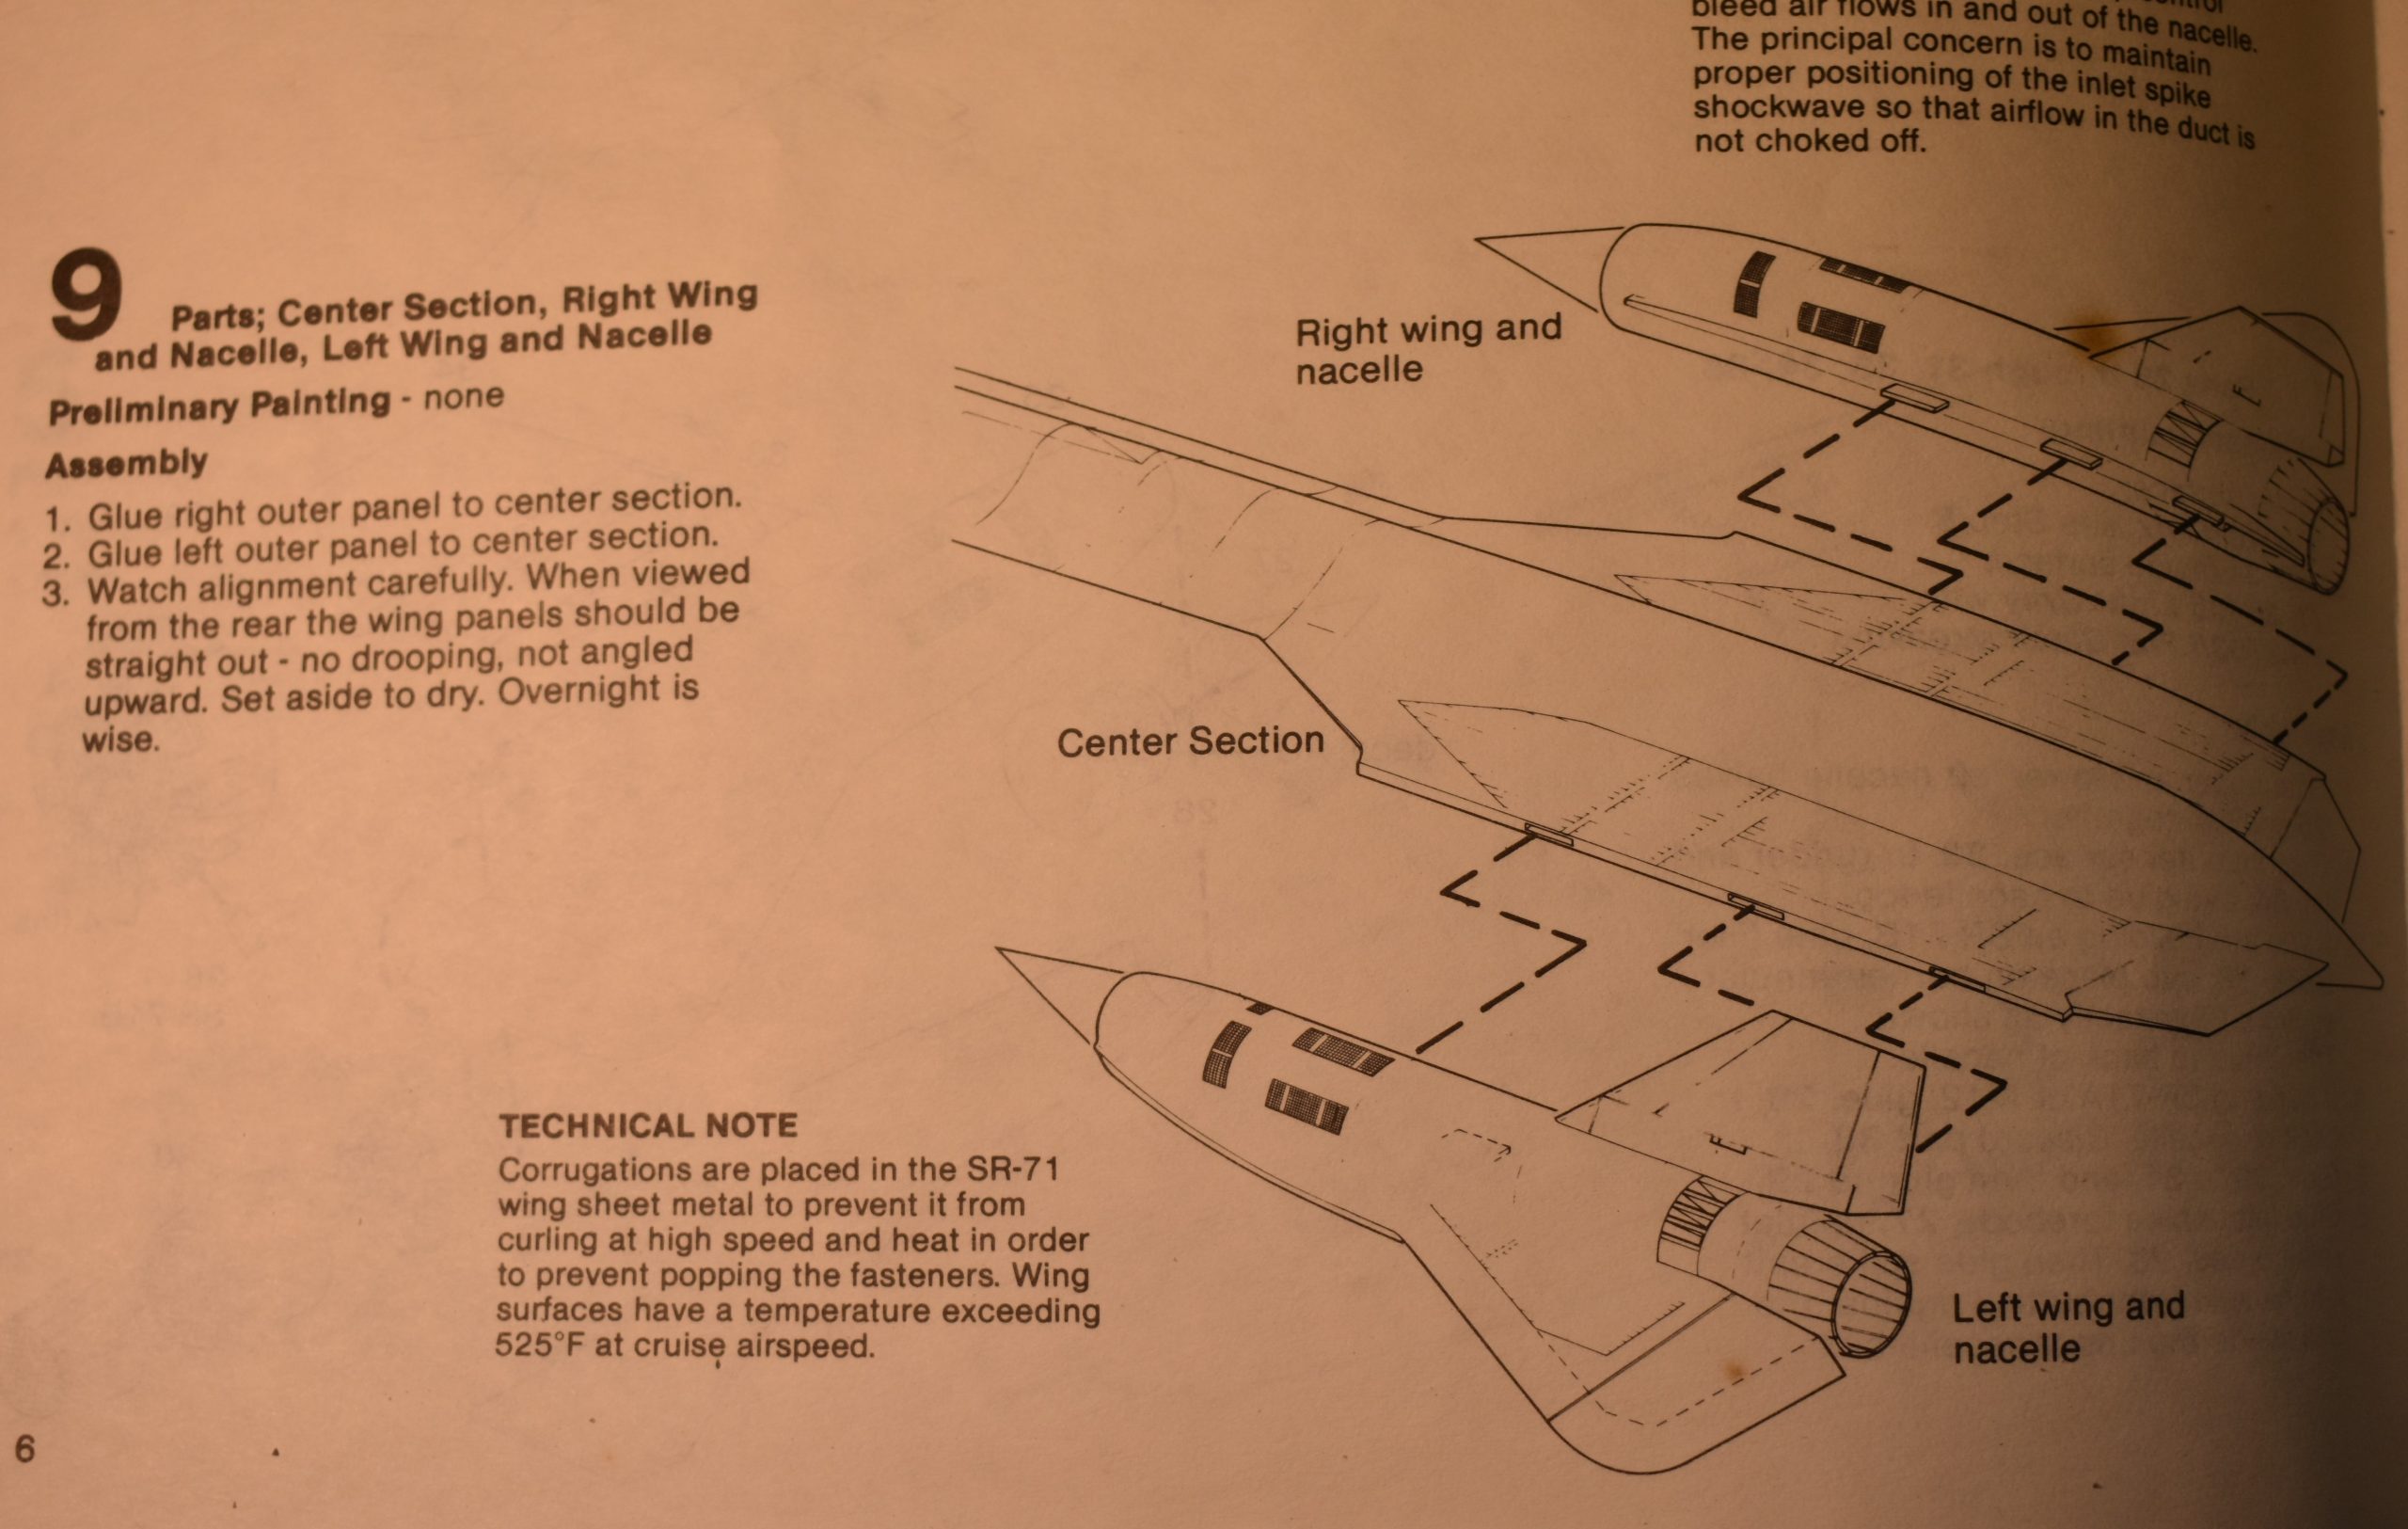
Dry fitting reveals a major problem.

Another problem is that the mounting holes in the center section are too small to allow the nacelles to fit.  Even after hollowing them out, and thinning the posts on the nacelles, I still ended up with stress cracks on the center section.

Even after surgery to make the parts fit, stress cracks appeared.

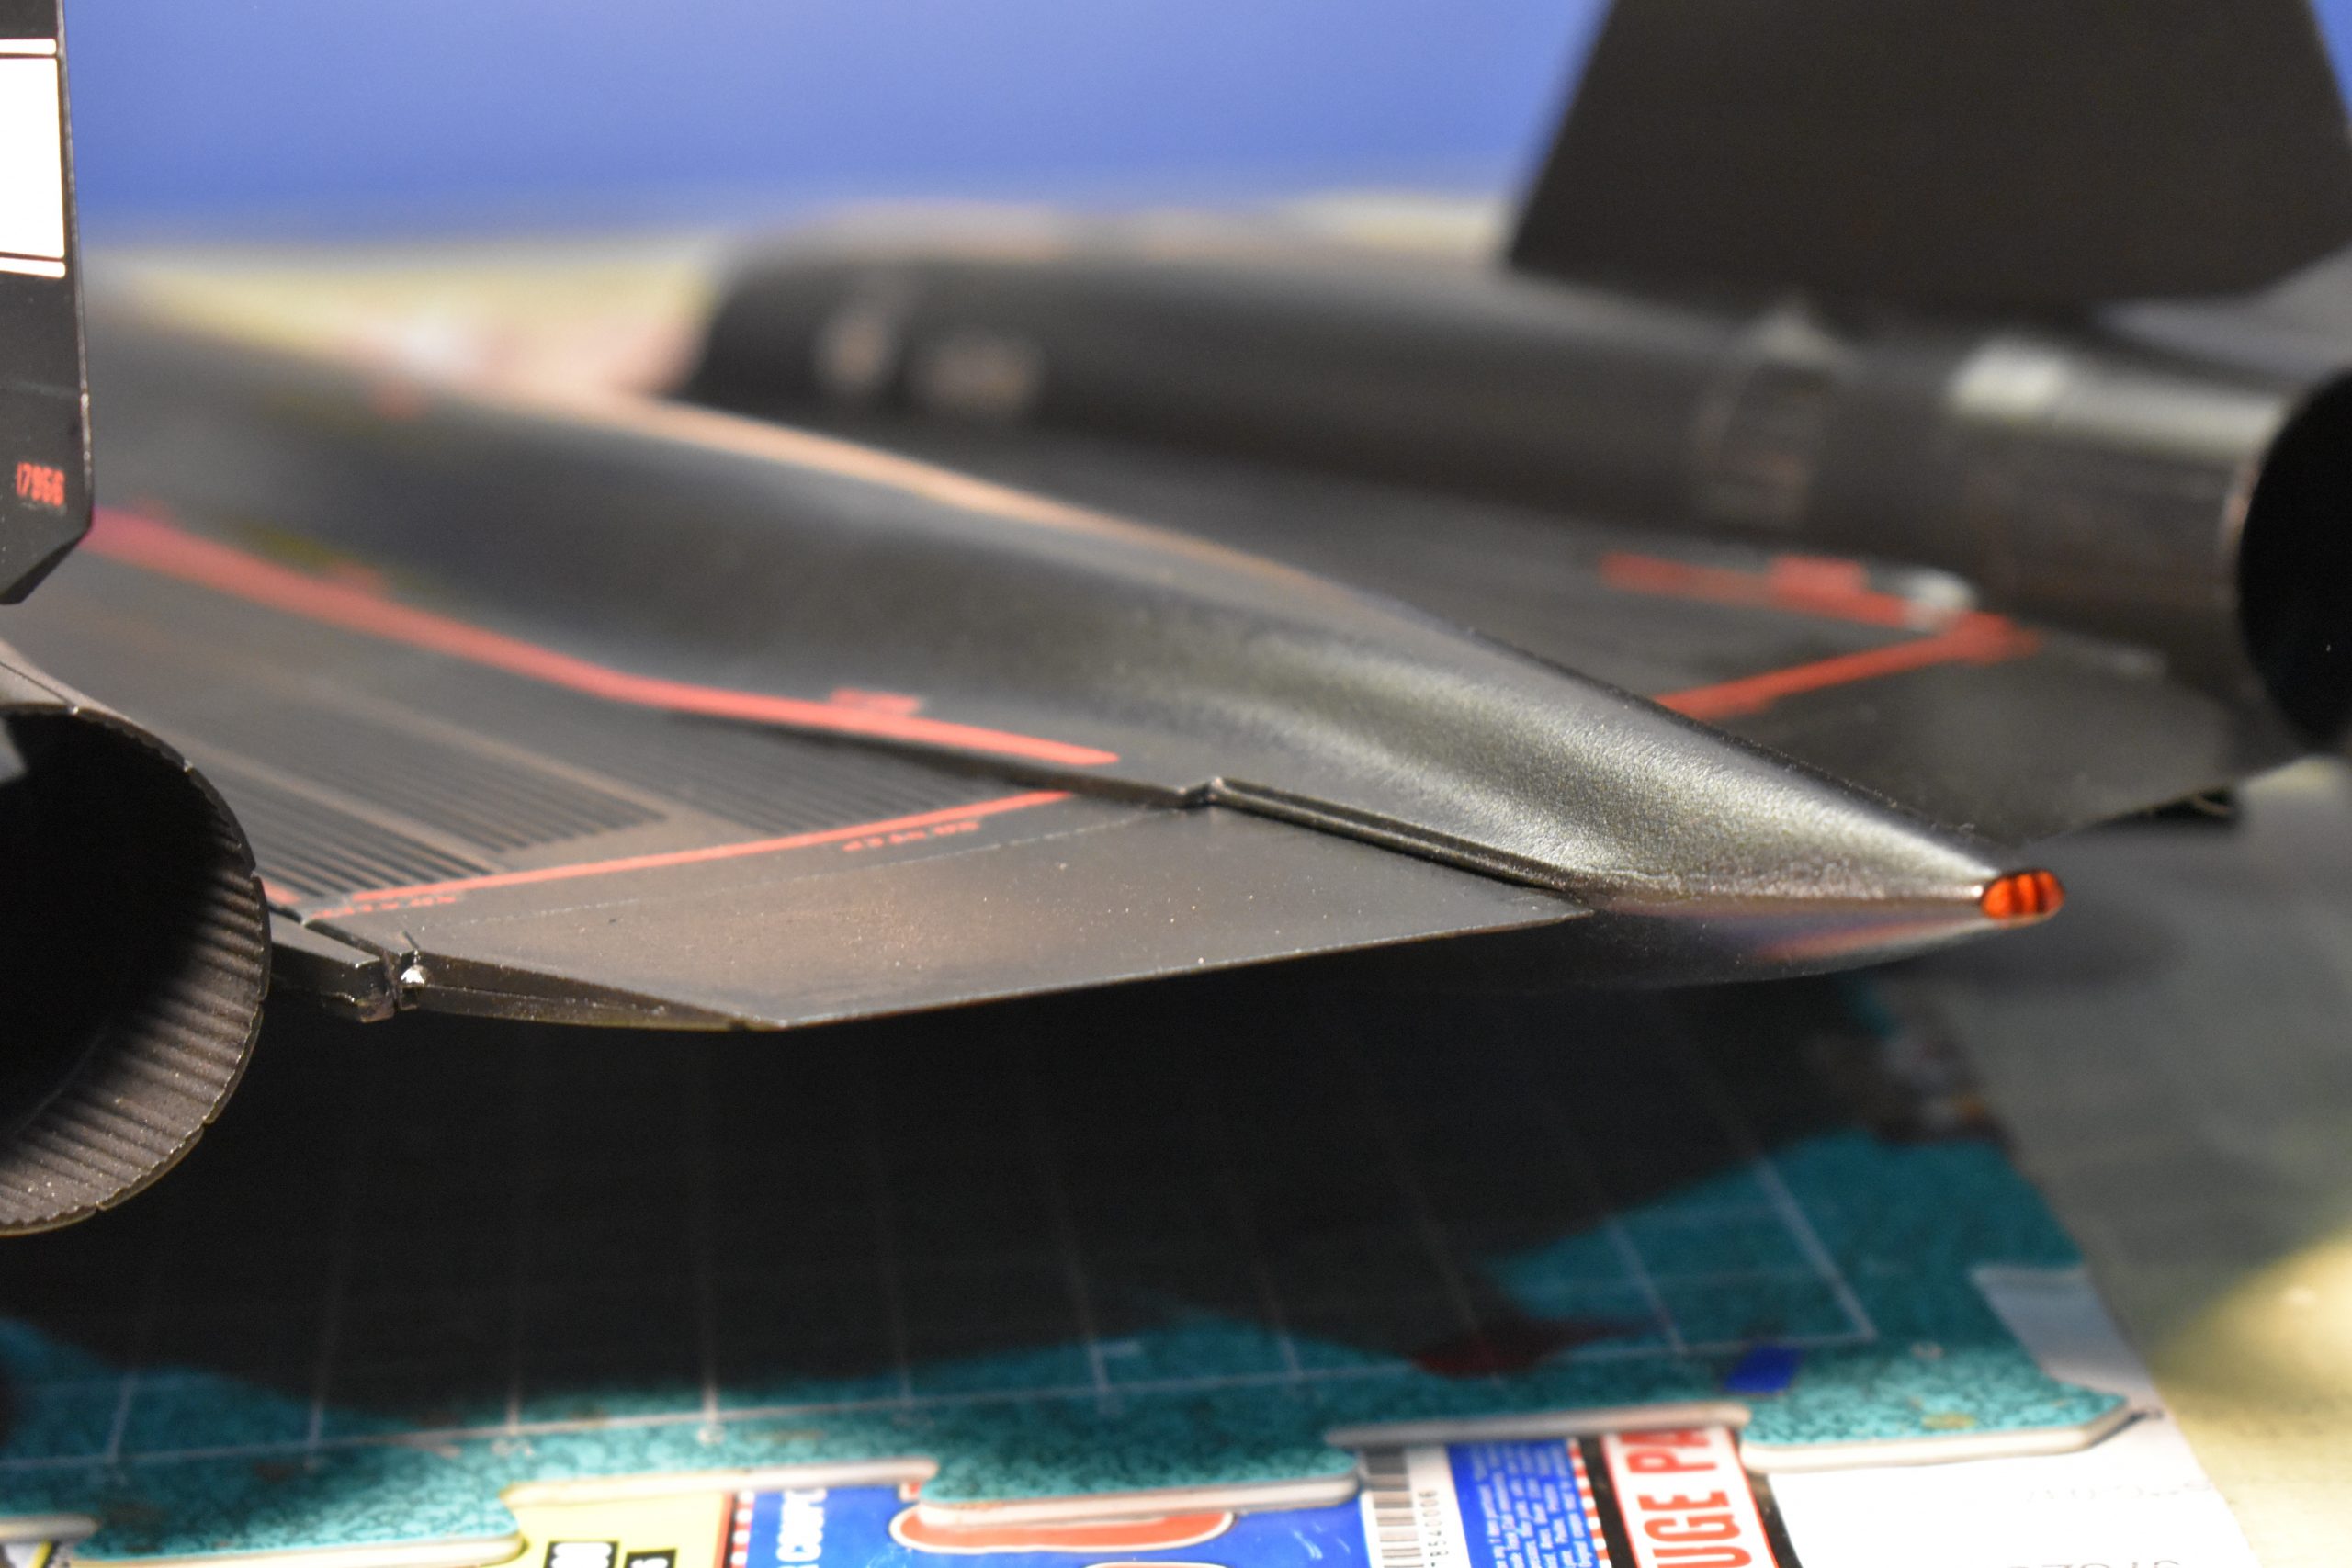
Lack of mounting stubs caused the rear part of the wing to droop. Testors does not replicate the fuel dump, I tried by filing the pointy end flat and using paint.

For some reason Testors did not model the prominent fuel dump at the back of the Blackbird.  I decided to flatten the pointy end and then use red paint to represent the fuel dump.  Most photos of  the rear-end of SR-71s show the inside of the fuel dump was painted red.

An SR-71 gate-guard on Beale AFB, California, showing the red painted fuel dump. USAF photo, 26JAN2016.

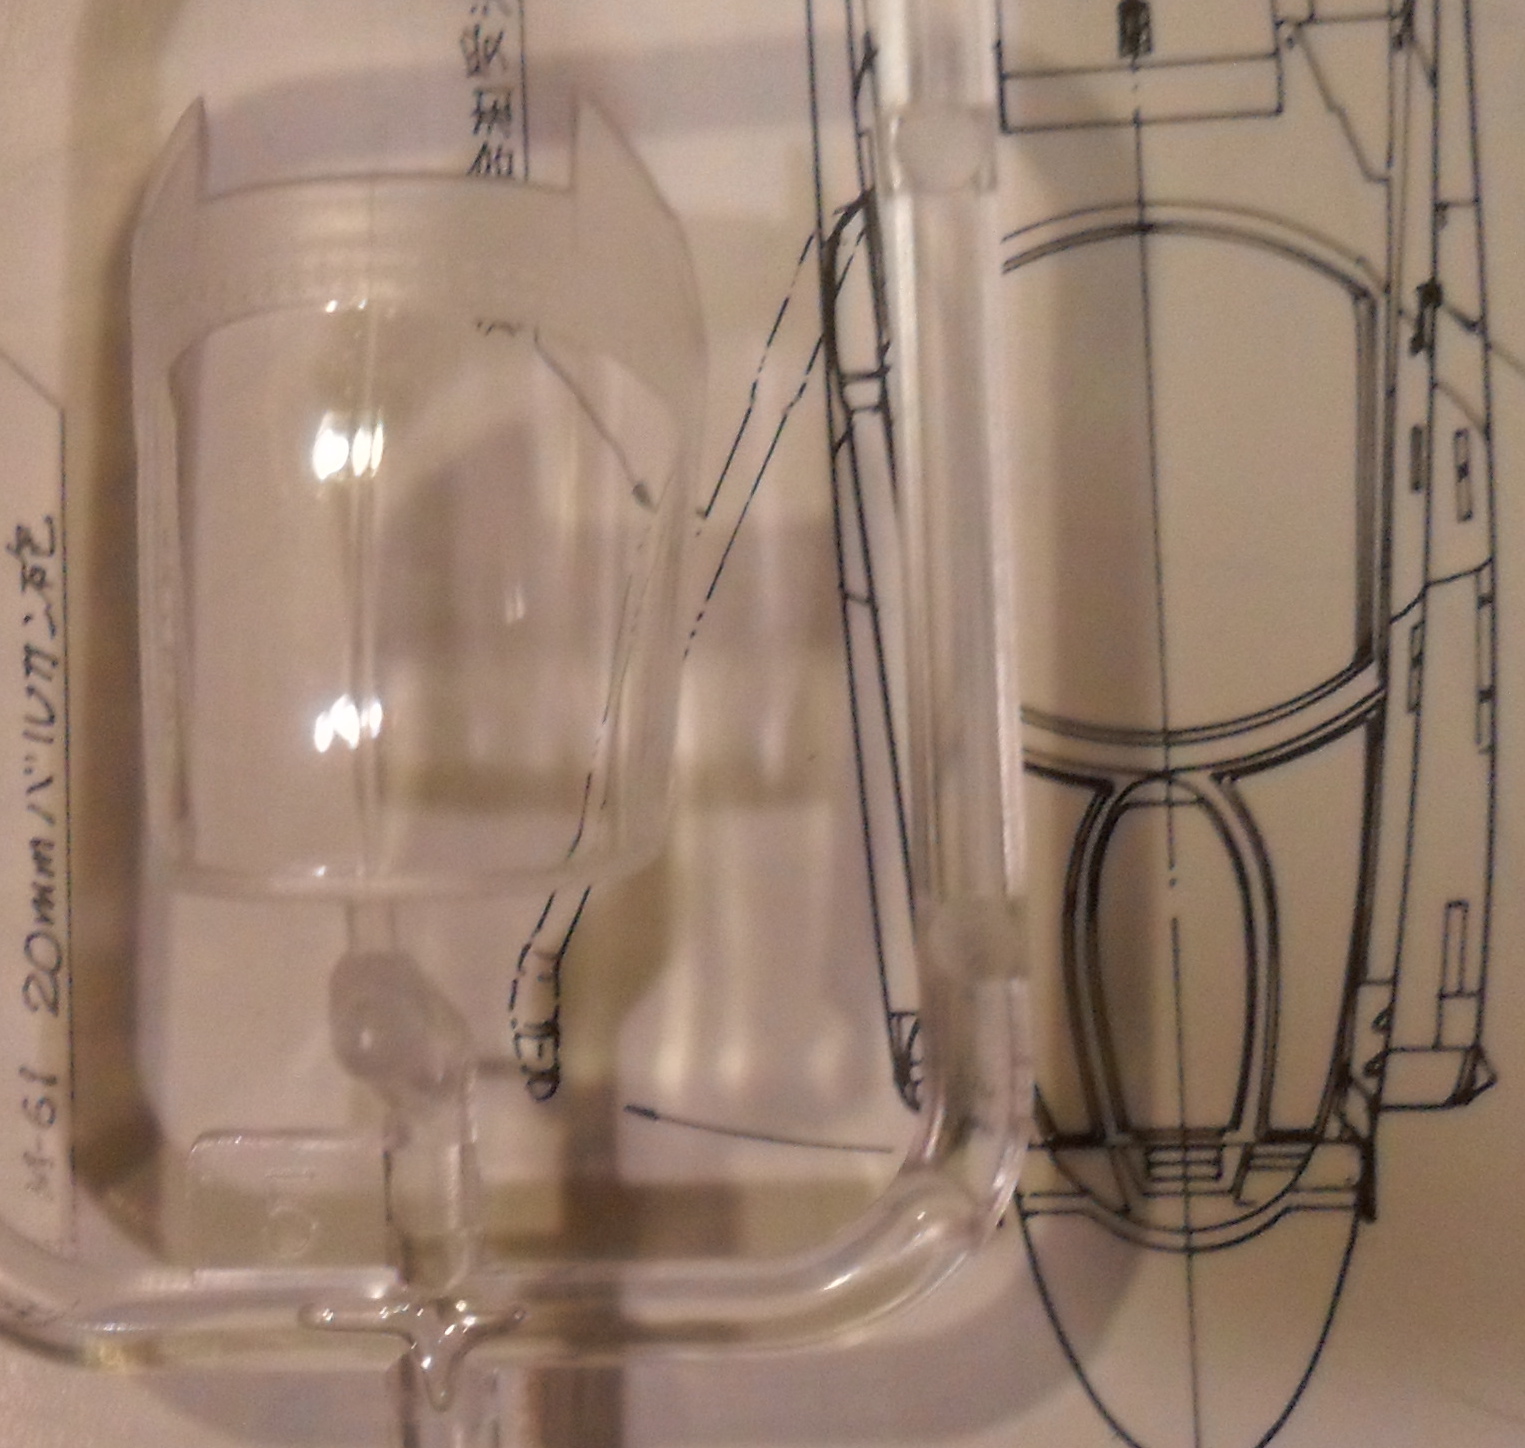
The kit does not come with pilots, using putty I modified some old Monogram pilots to look like astronauts, but then discovered the seats wouldn’t allow them to fit.  I had to chop off the pilot’s feet, butts and part of their backs to get them to fit.

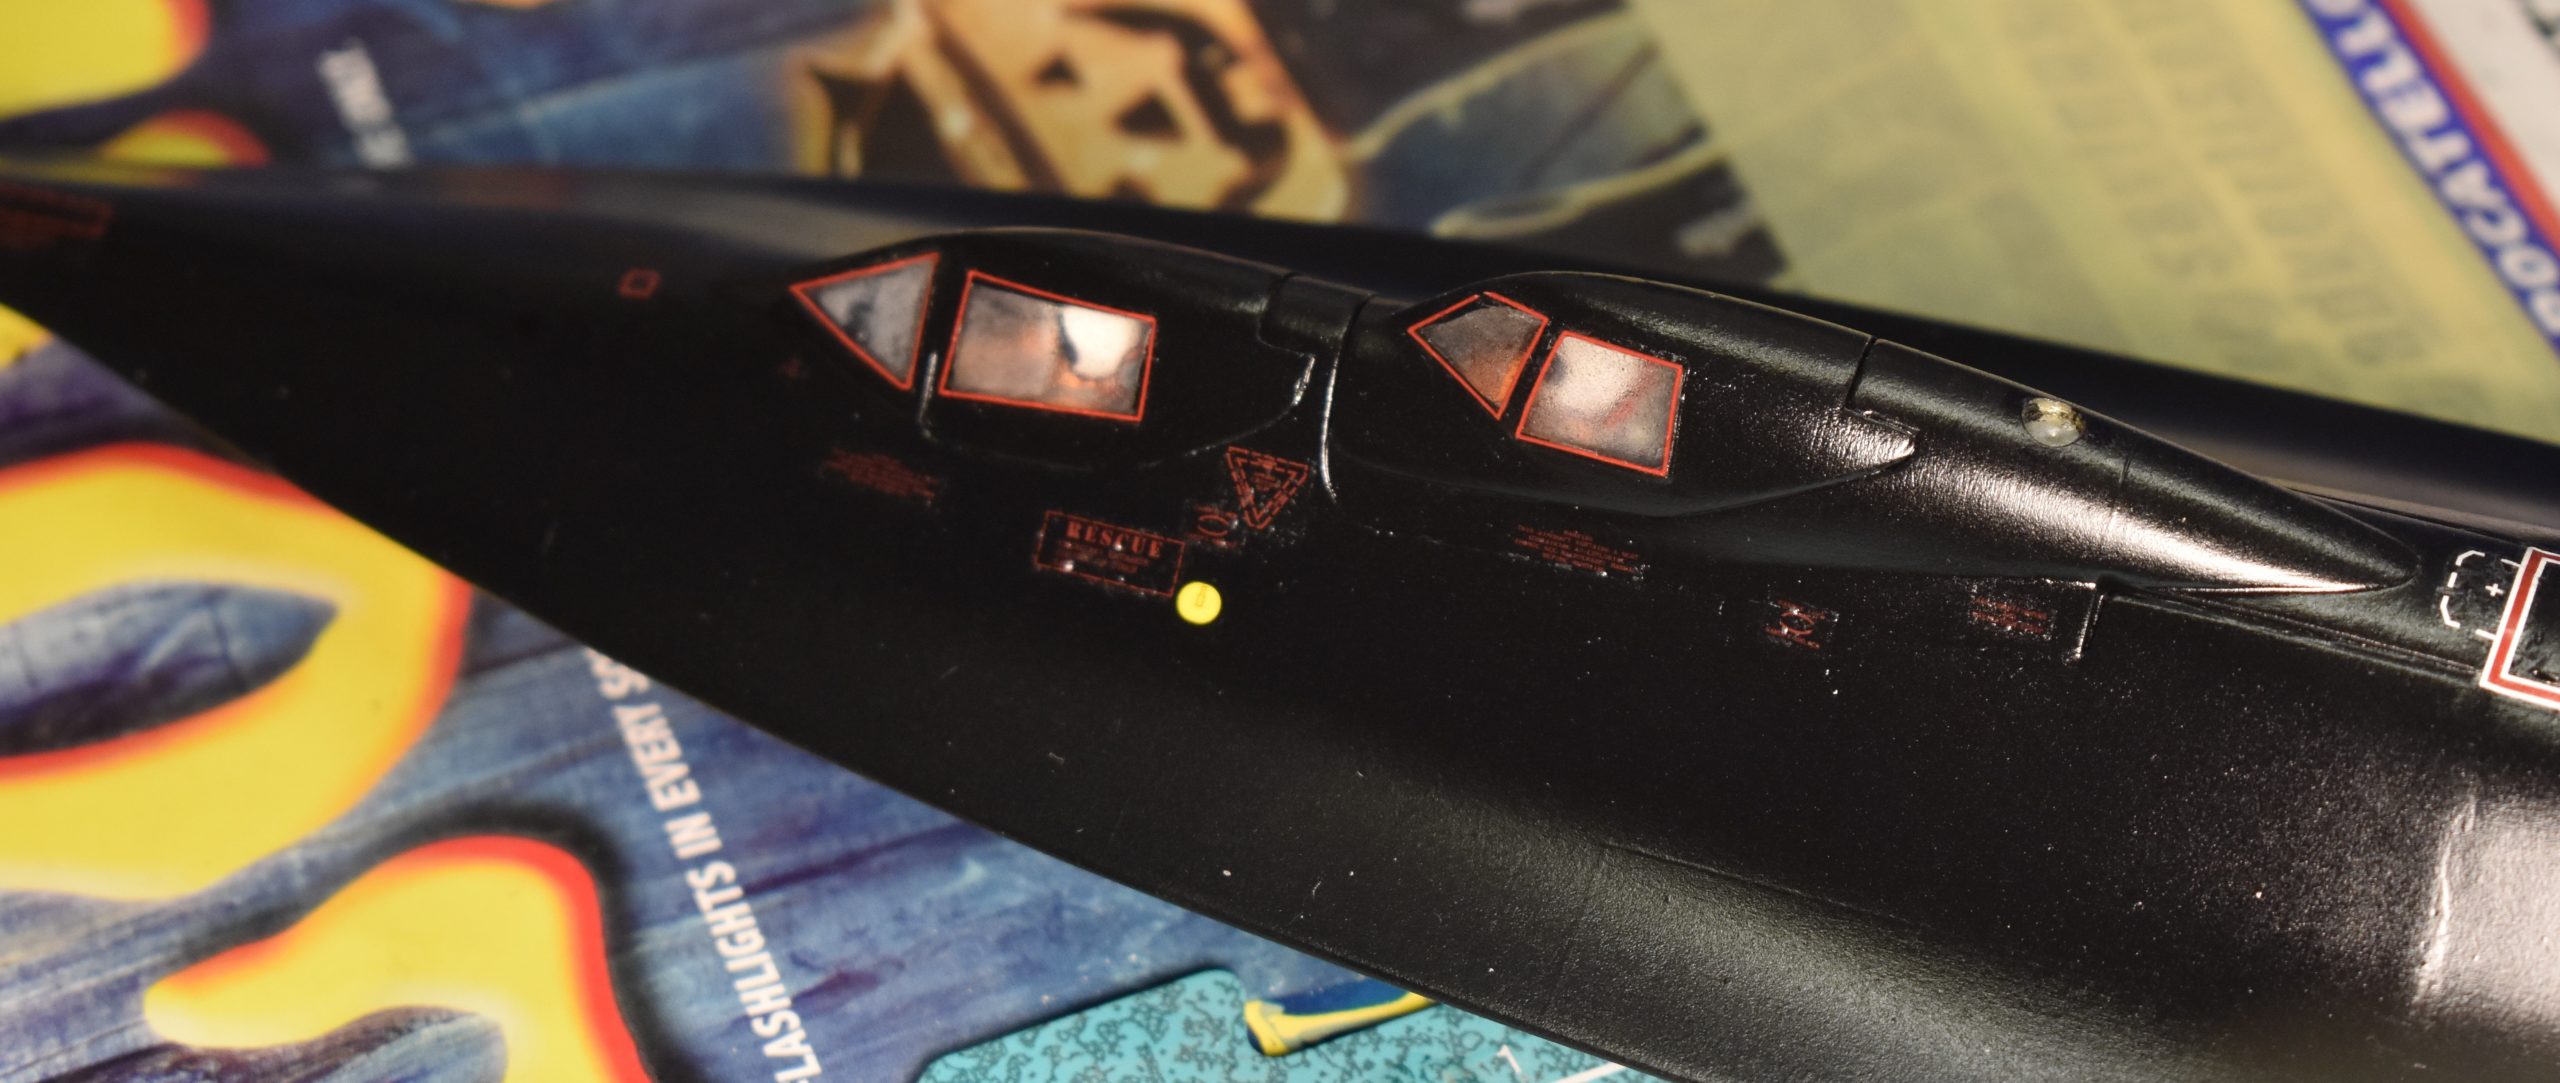
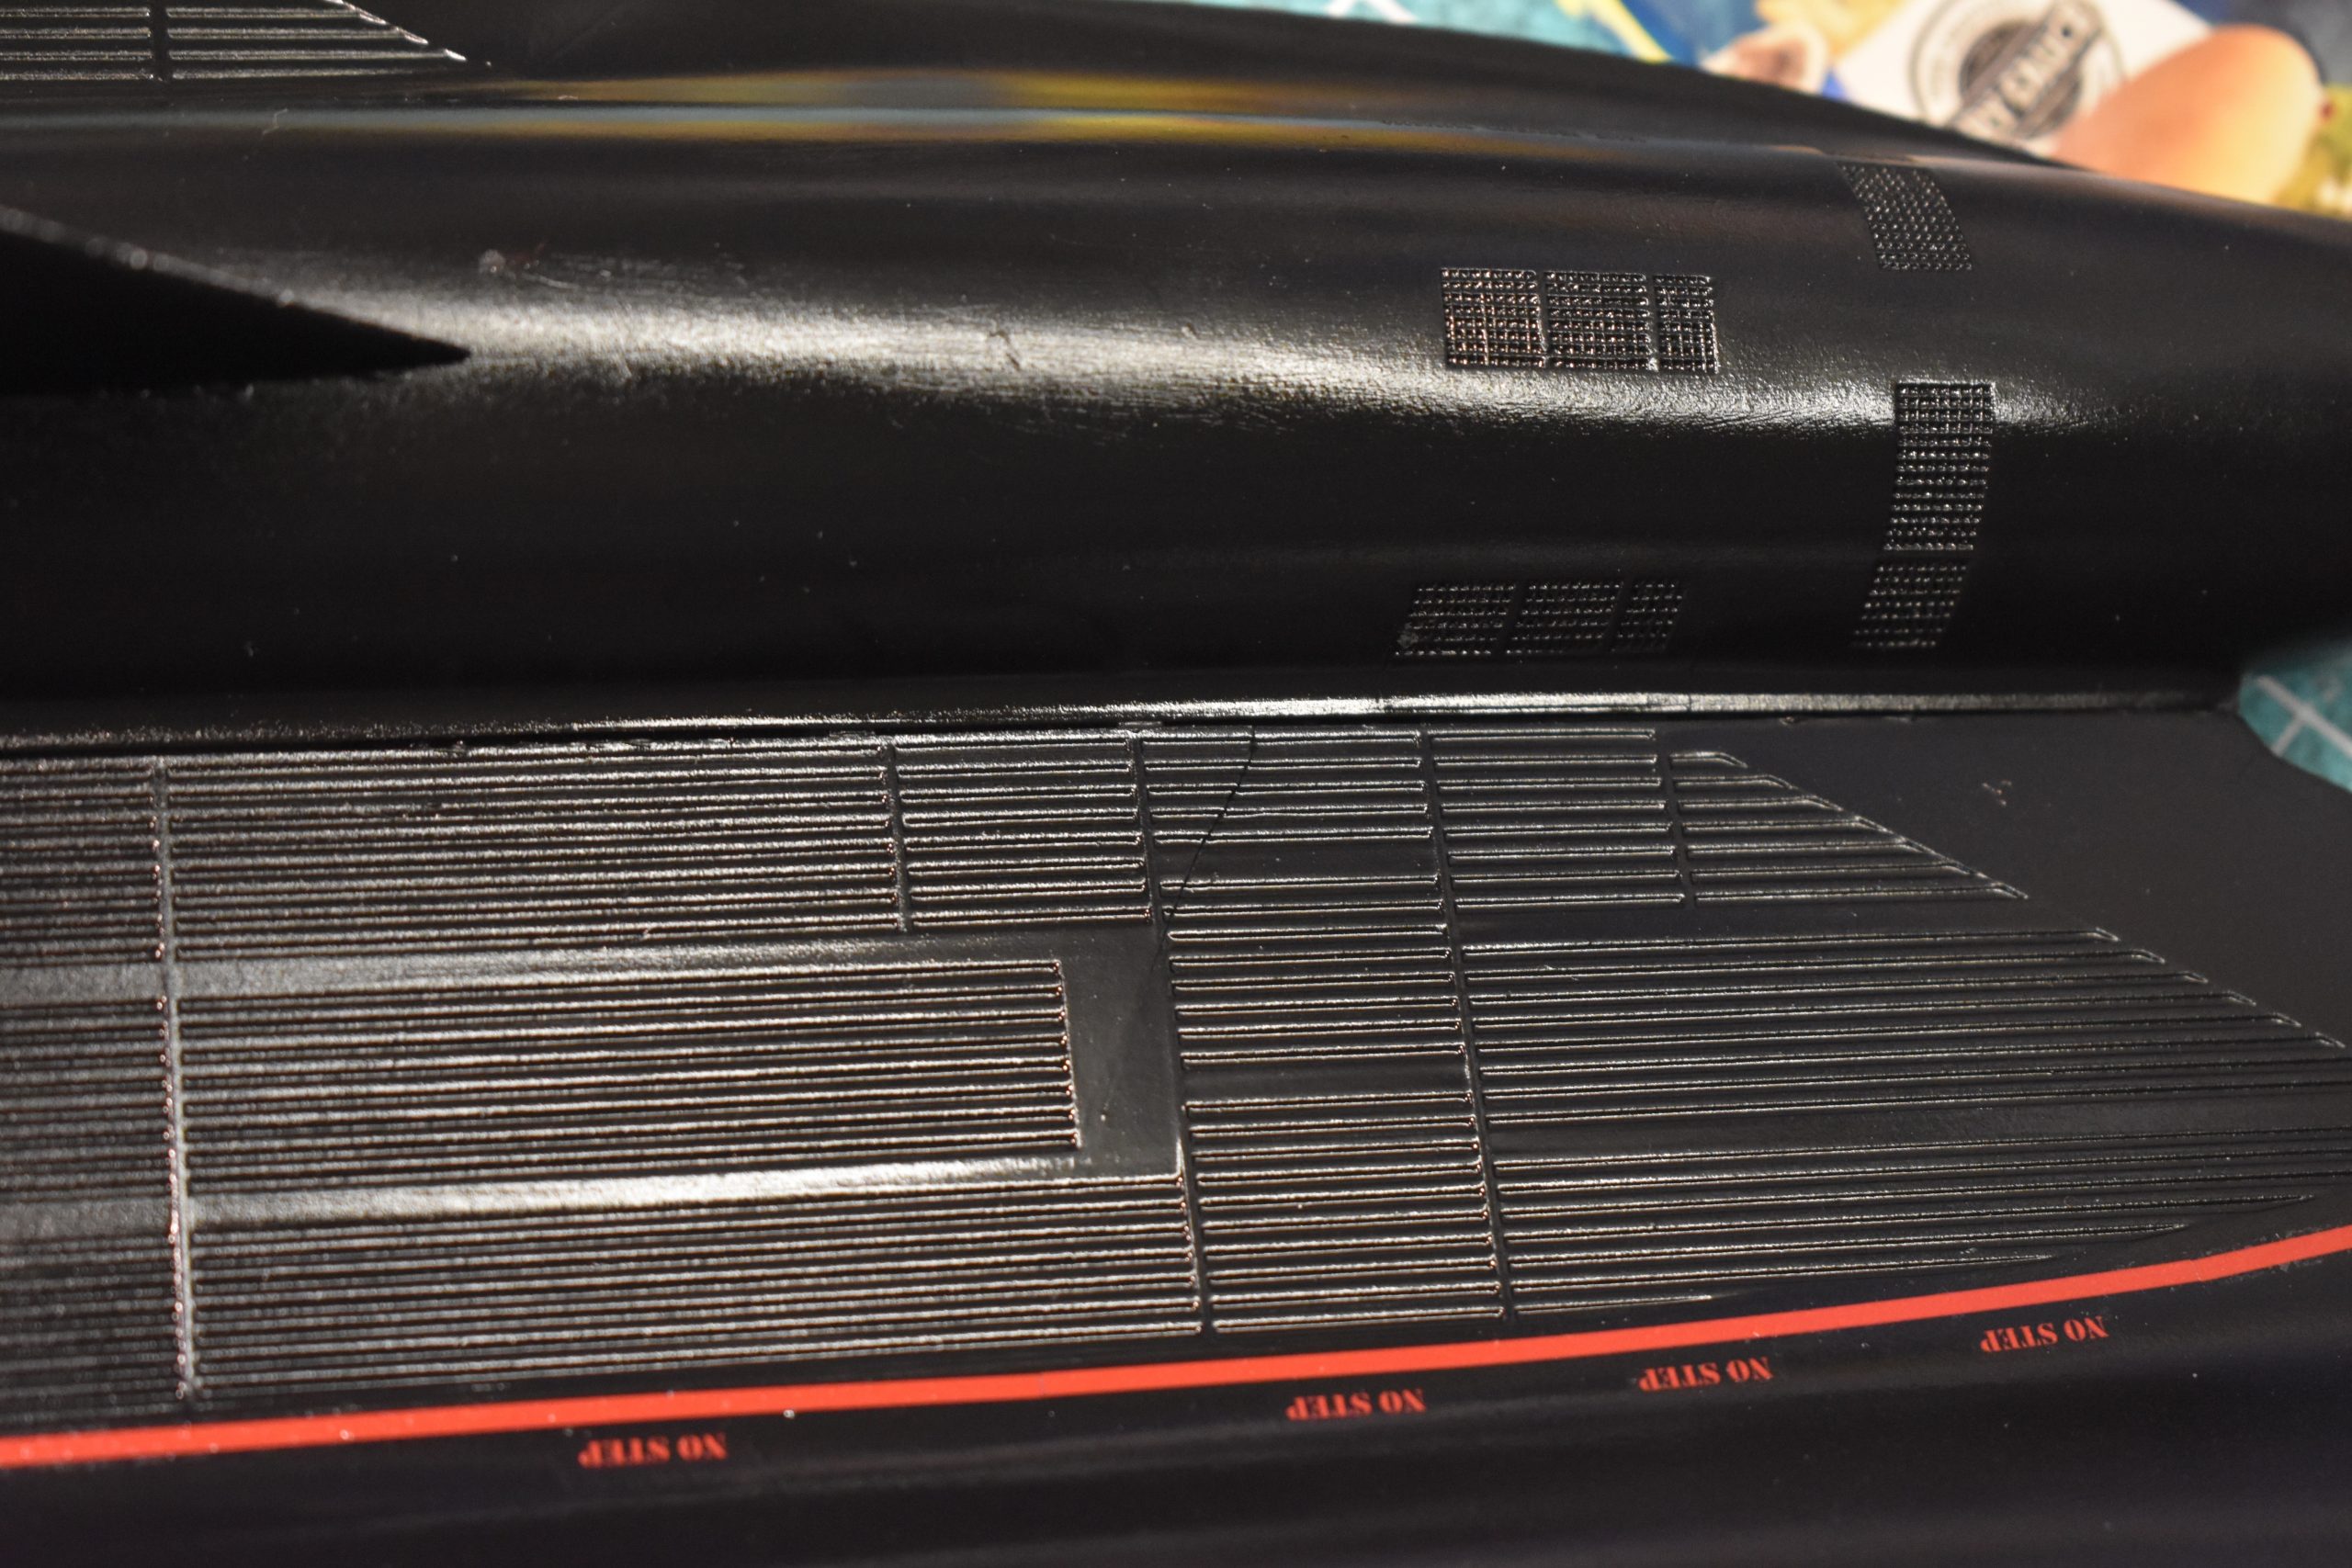
I modified some spare Monogram pilots. Turns out the red borders around the canopy glazing are incorrect, and the clear I used to get them to stay down fogged the canopies.

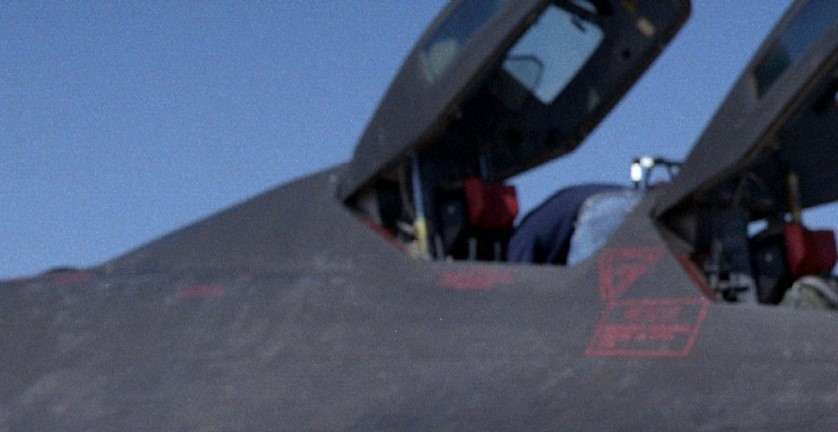
Forget those red canopy border decals, they are flat wrong.  While reviewing photos (unfortunately after I applied the decals) I noticed there are no red borders.  At certain angles it might look like there are, but the red that is sometimes seen around the glazing is actually the seals inside the canopy framing.

In this close-up of NASA SR-71B 831, you can see there are no red borders around the canopies. What is red are the seals inside the canopy framing. NASA photo, December 1994.

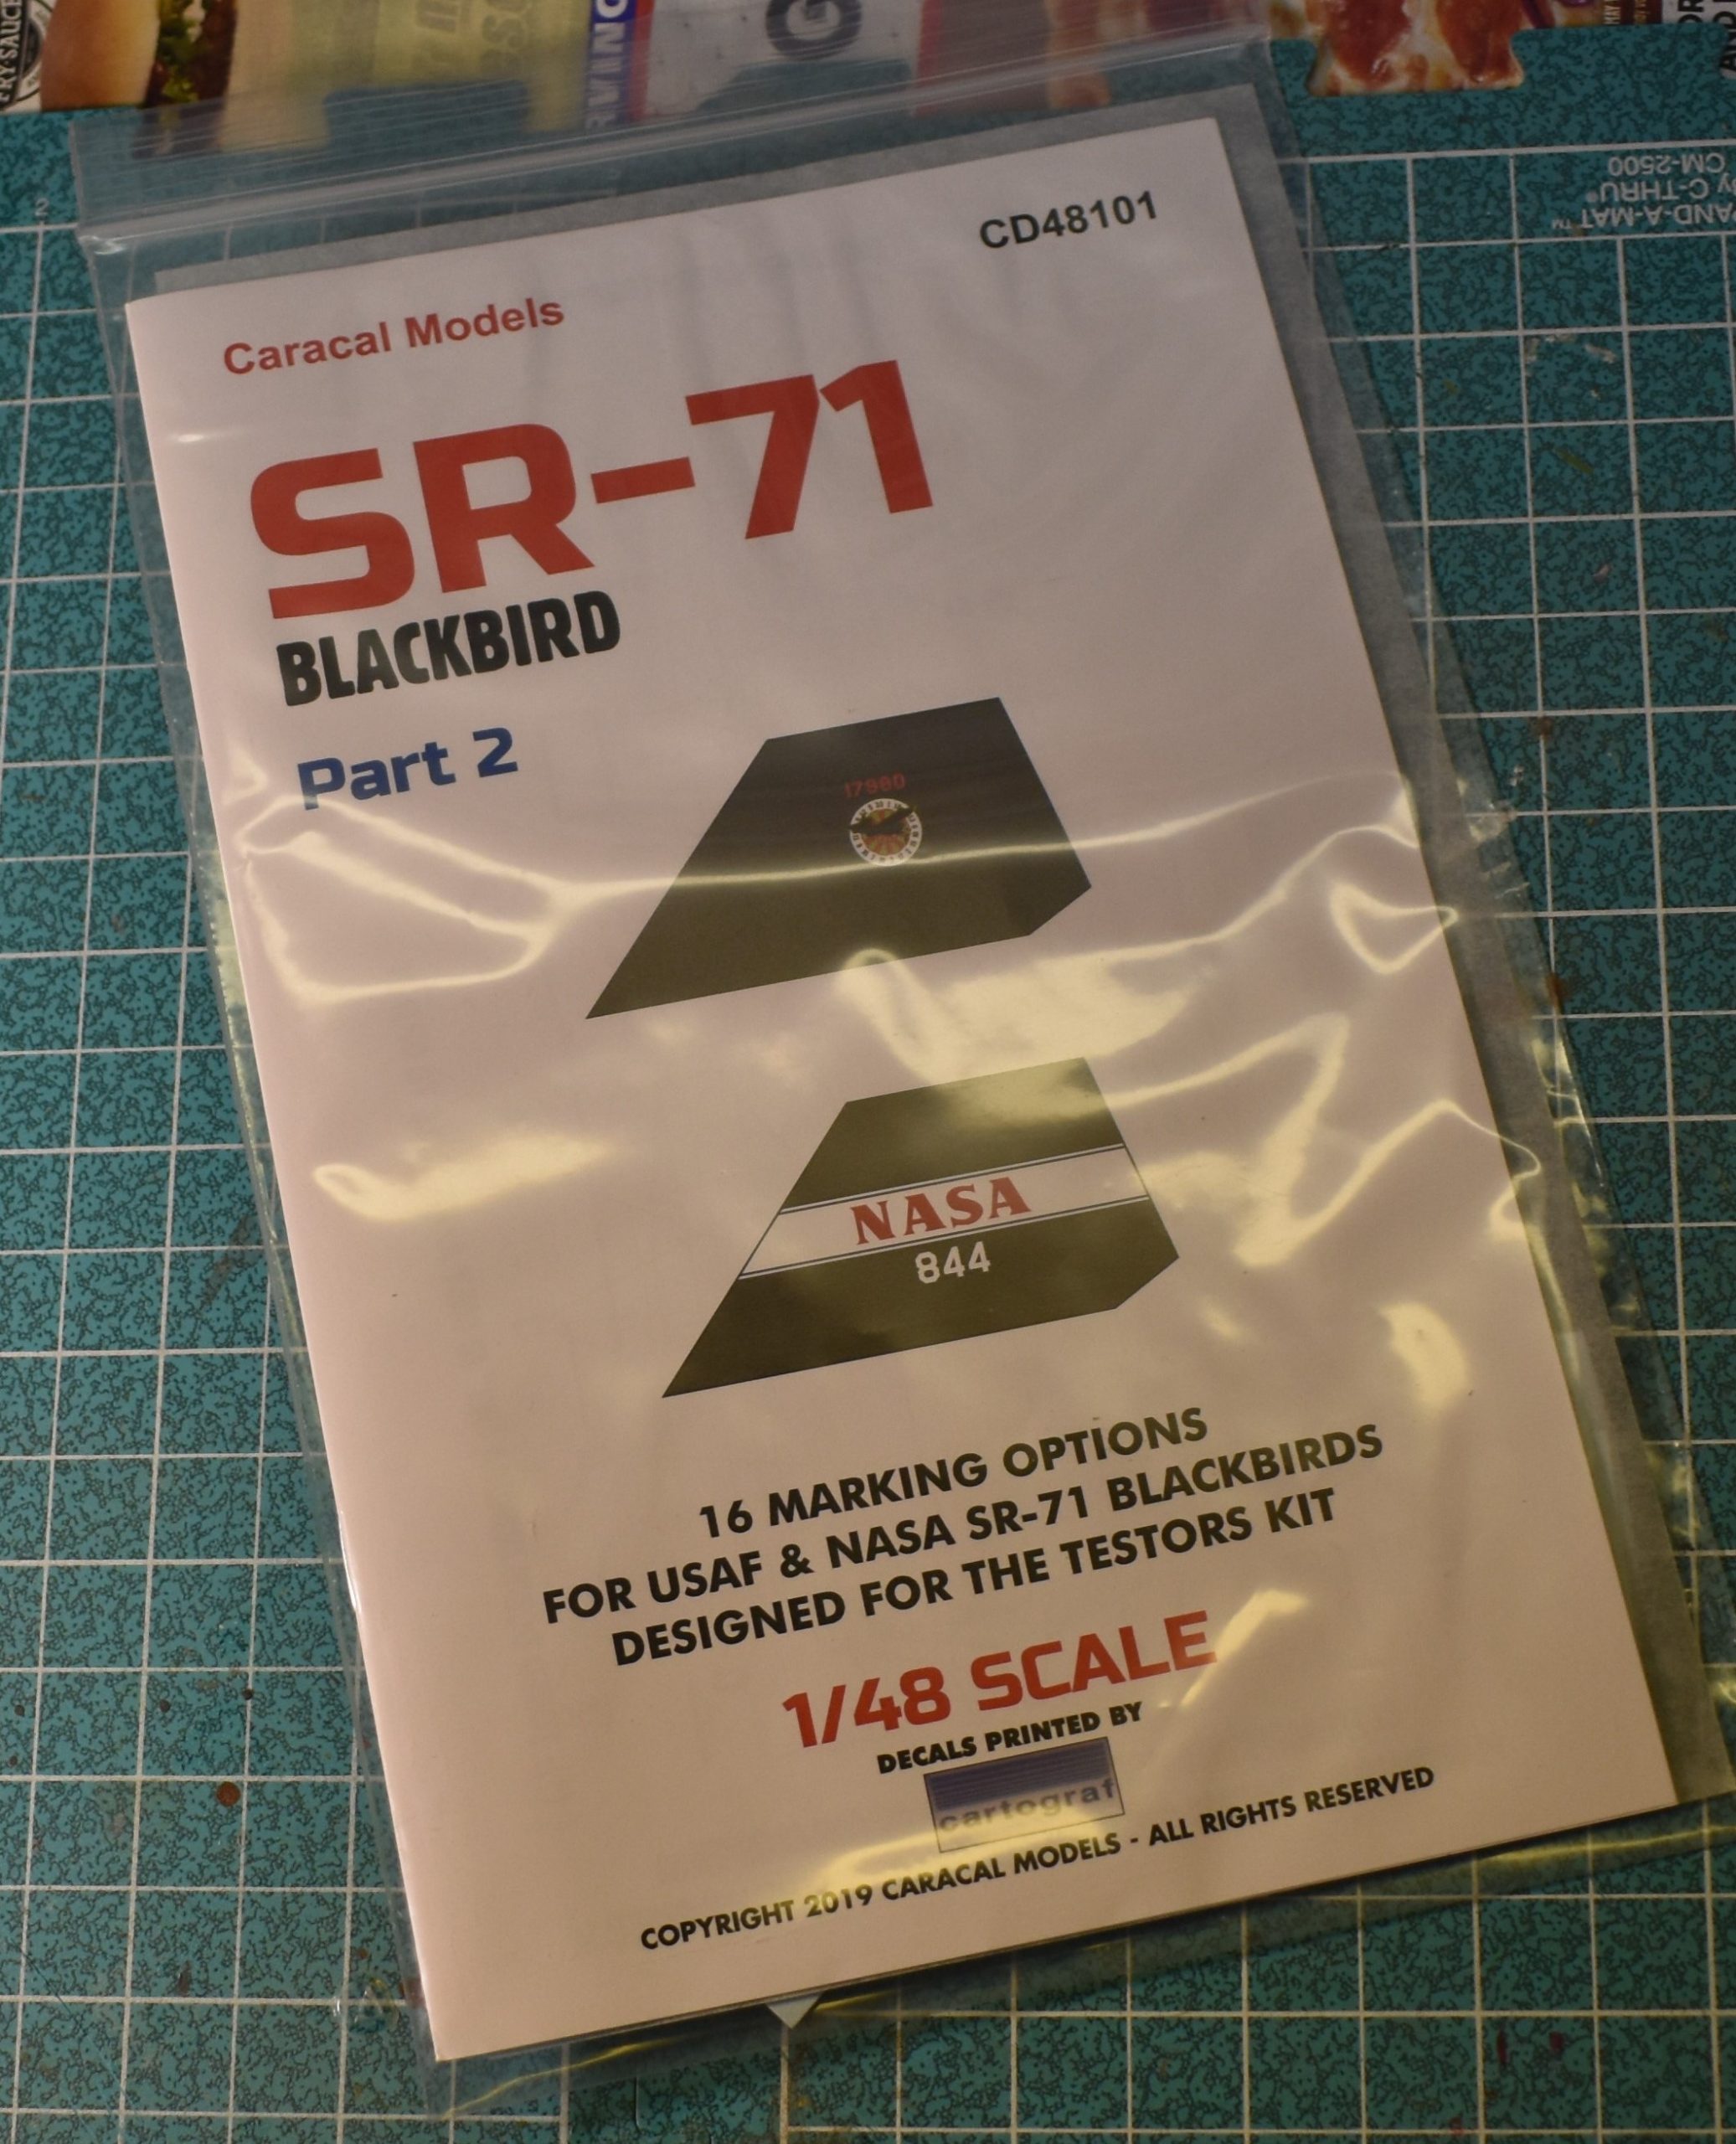
It was in the Caracal-Cartograf Blackbird Part-2 decal set that I discovered the markings for NASA 831.

You might not can see, but even a coat of clear paint failed to force the aftermarket decals to lay flat on the underside of the Blackbird.

Even expensive (almost as much as what I paid for the Testors kit back in 1997) aftermarket decals can be wrong (like the red canopy borders), and not cooperate.  For some reason not known to me, the decals would not settle down on the underside of the kit.  Decal solution failed to keep the decals from wrinkling.  I applied clear paint and the result was no more wrinkles, instead I got blisters which hardened when the paint dried.

NASA photo of 831, sometime in 1995.

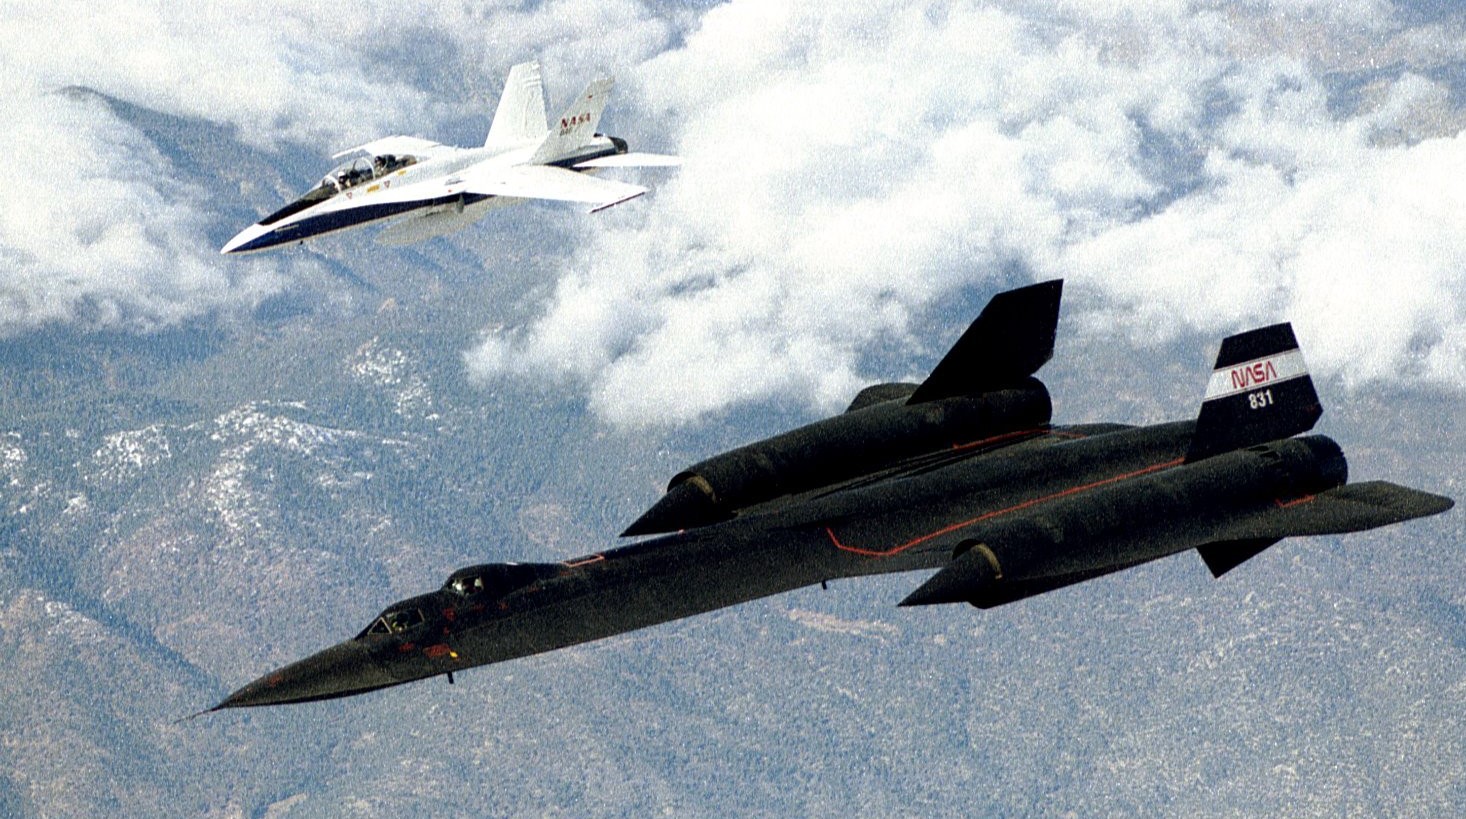
831 cruises over the Mojave Desert with a NASA F/A-18 Hornet flying safety chase. NASA photo sometime in 1996.

F-15 Eagle 50th Anniversary: THE A-SAT, WITH SOME VISUAL TIPS FOR THE KIT BUILDER

Cold War Boats: REVELL’S SPY TRAWLER IS FOR REALS! OR, WHO TOLD THE SOVIETS ABOUT EXERCISE TEAMWORK?

1/72 REVISED comparison A-7 Corsair 2: Fujimi, ESCI, Airfix, Hasegawa, Matchbox, Revell & Hobby Boss. More reason not to trust scale drawings?

I’ve collected a few LTV A-7 Corsair 2 kits in 1/72 scale, and noticed a lot of difference in shape.  I’ve also learned that the latest and greatest kit issue from Asia isn’t so great.

Update: I recently got the ancient 1979 The A-7 Corsair II in Detail & Scale and immediately noticed a difference in the Ed Moore scale drawings and the Bunrin-Do (1989 #18 Famous Airplanes of the World: LTV A-7 Corsair II Navy Version) drawings I originally used for this review.  The Bunrin-Do drawings look much better than the Ed Moore drawings but does that mean they’re more accurate?

Click the pics to make bigger and read results

The Hobby Boss kit (it needs to die or be completely re-tooled) is disappointing dimensionally, even the Mark 82 bombs are incredibly anorexic!  The Hobby Boss main wing is almost right on with the Bunrin-Do drawings. The elevators are accurate close to the fuselage, but start to slightly narrow at the tip (but nothing like the narrowness of the other kits).   Despite the fuselage being too narrow, the canopy is slightly too fat.  If you think the Hobby Boss kit fuselage is too long and skinny, wait until you compare it to the Ed Moore drawings; it’s anorexic!  Amazingly the wing is almost spot-on in shape, span and chord! The elevators are ever-so slightly short in span. The canopy is still fat.

The 'mold parting' line on this Hobby Boss canopy is not in the right place to be the result of mold halves, but matches the center line used by drafters of scale drawings!

The ‘mold parting’ line on this Hobby Boss canopy matches the center line used by drafters of scale drawings!

And I think I’ve discovered why many Chinese made kits have ‘mold parting’ lines down the center of their canopies: Perhaps they’re not mold parting lines, but the lines from scale drawings?  However the Chinese companies are transcribing scale plans of aircraft to the mold making process, they’re including the line drafters use to indicate the center-line of the fuselage?

(Note: I didn’t check windshields, just canopies.)

The ancient Hasegawa kit (still being issued) fuselage has good shape but is slightly short when compared to the Ed Moore drawings.  The antennae on the spine are in the wrong place.  The old issue kit is missing the ECM antenna on the vertical tail, but supposedly later issues were revised. The elevators are too small.  The wings are slightly short in span but match the shape of the drawings. The canopy profile matches the drawings but is slightly fat in cross-section.  Compared to the Bunrin-Do drawings the Hasegawa fuselage is too short.  Here’s where it gets weird, the elevators and canopy match the Bunrin-Do drawings, but the wings are even shorter in span when compared to the Ed Moore drawings!

When compared to the Bunrin-Do drawings the Airfix (also issued by MPC) kit fuselage is the most accurate shape wise, but the main wings are too short in span, narrow in chord, and the wing tips are cut straight instead of being curved.  The elevators are too short with incorrect shaped tips.  The canopy looks the right width, but the rear portion of the frame is missing as it is part of the kit fuselage, so no way to pose it open.  Compared to the Ed Moore drawings the Airfix main wings have the same problem; too short, wrong shape. The elevators are not only short in span but in chord as well.  The canopy is slightly fat.  The fuselage length matches the Ed Moore drawings, but the vertical tail is further back on the spine and the antennae are in the wrong place.  Interestingly the 1979 edition of the Detail & Scale book praises the Airfix kit as being “the best kit available”.

The Matchbox kit fuselage matches the shape of the Ed Moore drawings almost perfectly (the kit was issued after the Detail & Scale book was first published) but is slightly long.  The canopy is slightly flat in profile, but matches in cross section, it is molded as a one piece canopy-windshield, and like the Airfix kit, the framing for the canopy is molded as part of the fuselage. The wing matches the span and wing tip shape of the Ed Moore drawings, but is narrow in chord.  The elevators match the drawings.  Compared to the Bunrin-Do drawings the elevators are the correct size, but the tips are the wrong shape. The wing is too short and too narrow. The canopy matches the profile and cross-section.  The fuselage is too short, and too narrow at the ass-end.

Revell’s ancient kit (repeatedly re-issued, somebody put it out of our misery!) matches the shape of the Ed Moore fuselage, but is slightly long.  The ECM antenna on the tail (apparently added to later issues of the kit) is too small.  The canopy-windshield matches the drawings, but like the Airfix and Matchbox kits, the framing for the canopy is molded as part of the fuselage.  Revell’s wing is the best as far as how it mounts to the fuselage; it is molded as part of the spine which greatly reduces the need for filling in join lines (debatable), however, the wing is the wrong shape and long in span.  The elevators have too great a sweep.  According to the Bunrin-Do drawings the wing is too short in span and too narrow. The elevators have the same sweep-back problem.  The canopy-windshield seem slightly small compared to the drawings.   Like the Matchbox kit, the fuselage is too short, and too narrow, at the ass-end.

Comparing the ESCI (re-boxed by AMT-ERTL/Italeri) main wing to the Bunrin-Do drawings it is way too short in span, and the elevators are too narrow.  The canopy seems the right width, but the rear portion of the frame is not correct.  The Ed Moore drawings say the same thing about the main wing, the elevators fair better by barely matching the drawings.  The canopy looks good.  The fuselage matches the profile of the drawing but is slightly short. The tip of the vertical tail does not match Ed Moore’s drawing, but none of the kits do as the drawing shows the tail tip being rounded, which is wrong (oh my, you mean an authoritative scale drawing is wrong?)! ESCI kits usually come with good decals.

The Fujimi main wing is barely short going by the Bunrin-Do drawings.  The elevators are way too narrow, and the canopy slightly fat with incorrect rear frame.  The fuselage matches the Ed Moore drawings.  Spine antennae are in the wrong location.  The canopy matches.  The elevators are narrow in chord and have incorrectly shaped tips.  The wing is slightly short in span due to incorrectly shaped tips.  Nice decals came with my kit.

Ordinance:  The only kits in this review with decent weapons load are the ESCI and Fujimi kits, not great, but better than the lumps of plastic you kit with the other brands.  The skinny Hobby Boss Mark 82s come with optional fuse extenders.

IFR (In-Flight Refueling):  The Matchbox kit provides IFR for USAF aircraft only.  The Airfix kit provides IFR for USN aircraft only.  Hasegawa provides IFR for USN only, which is interesting because the AMT re-box (A-693:130) comes with markings for a USAF version.  Revell’s kit has IFR for USN only, despite numerous re-issues with USAF decals.  Fujimi, ESCI and Hobby Boss provide IFRs for both USAF and USN (depending on which issue of the kit you buy).

Out of the kit manufactures I compared none are accurate overall (and none got the main wing tip shape correct).  I read from other kit builders that the only way to get an accurate 1/72 scale A-7 is to kit-bash several kits from different makers.  From my perspective, it might be done by combining the Fujimi or Airfix fuselage with the Hobby Boss wing, for a start.  If you’re planing on building a kit to enter into a highly competitive model contest then kit-bashing is your only choice, but most of us don’t have the time (or money).

The A-7 has such a unique look and all the kits capture that look despite having shape issues, so, if you’re building one just for the heck of it then save some money and buy the cheapest one you can find, and go for it.

Notes: Before re-boxing the ESCI kit, AMT also re-boxed the Matchbox kit (late 1970s) and the super-ancient Hasegawa kit (early 1970s). The AMT/Matchbox issue uses the original Matchbox artwork and the phrase “Molded in 3 Colors” (using the U.S. English spelling of the word colors).

The website ScaleMates reports the Ace Hobby Kit A-7 is a copy of the Hasegawa kit, wrong!  The Ace A-7 is a re-tooled terrible copy of the ESCI kit.  Ace offers it in A, B, D, E versions, but all are wrong, like not having the correct parts, or decals, for the version offered!  Stay away from the Ace kit.

Heller re-boxed the Airfix A-7 in the 1990s when Airfix and Heller were owned by a single parent company (Humbrol).

USAF A-7 CORSAIRS, WHATEVER HAPPENED TO?

1/48 scale comparison A-7 Corsair 2: Aurora, Revell-Monogram, ESCI, Hasegawa & Hobby Boss 

Cold War Aggressor:  EA-7L THE ‘ELECTRIC’ TA-7C CORSAIR-2

Cold War Maintenance Walk Around: A-7D CORSAIR-2

1:72 F-100 SUPER SABER KIT KLASH, OR MORE REASONS WHY YOU CAN’T TRUST SCALE DRAWINGS